
Worried about unexpected vet bills?
Pet insurance can cover thousands in unexpected vet costs. Get a free quote from Lemonade in under 2 minutes.
Get My Free Quote →Sponsored · Opens Lemonade.com
Most people have watched a bird land outside their window and felt a small flicker of curiosity, wondering what exactly they were looking at. That moment, quiet and unhurried, is essentially the whole foundation of birdwatching. You don’t need to drive to a nature reserve or wake before dawn to get started. Your living room window might already be one of the best observation posts you have.
An estimated 96 million people in the United States engage in birdwatching, including nearly one third of Americans aged sixteen and older. Many of them started exactly where you are right now. What follows are eight practical steps to turn a passing glance into a real identification, all without leaving your sofa.
Step 1: Set Up Your Viewing Space for Success
Before you can identify anything, you need a clear and consistent view. Position your chair or a small table near the window so you can sit comfortably without shifting around. Birds are easily startled by sudden movement behind glass, so staying still matters more than you might expect.
Consider what’s directly outside. A feeder, a birdbath, or even a patch of dense shrubs will draw visitors closer and give you more to observe. A birdbath attracts more species than food alone, so if you can only add one thing to your yard, water is a surprisingly effective choice.
A window feeder is a great way to position yourself to take pictures of birds for a Photo ID. Even a simple suction-cup feeder mounted on the glass itself can bring birds to within arm’s reach, making details like bill shape and eye markings much easier to observe.
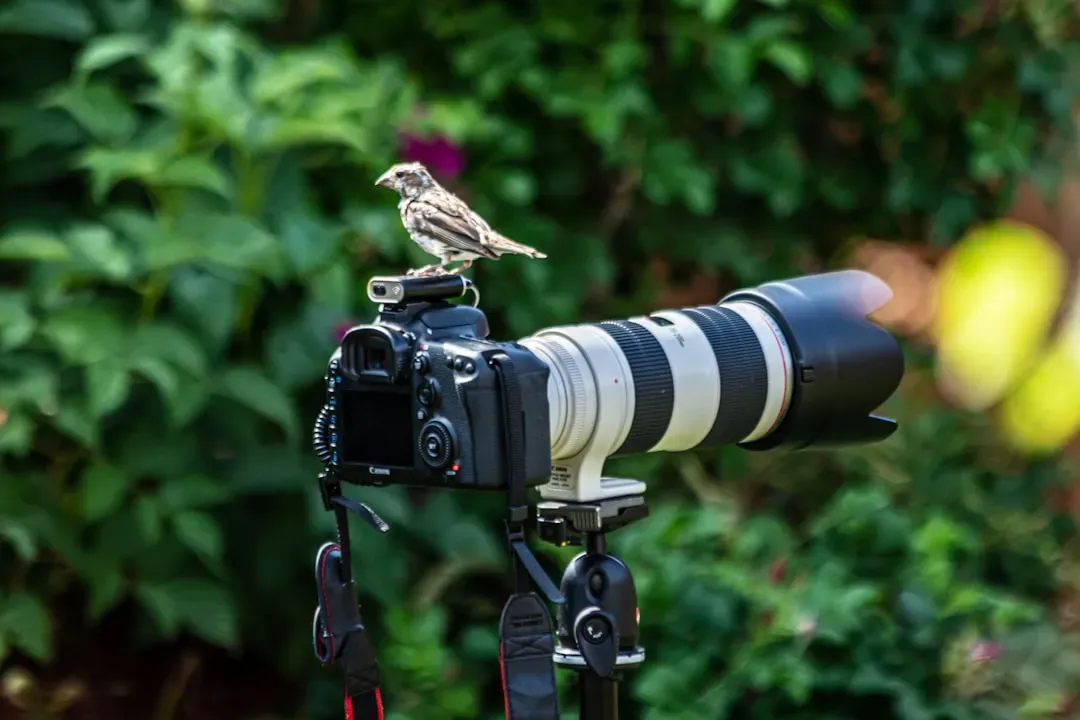
Step 2: Get a Decent Pair of Binoculars
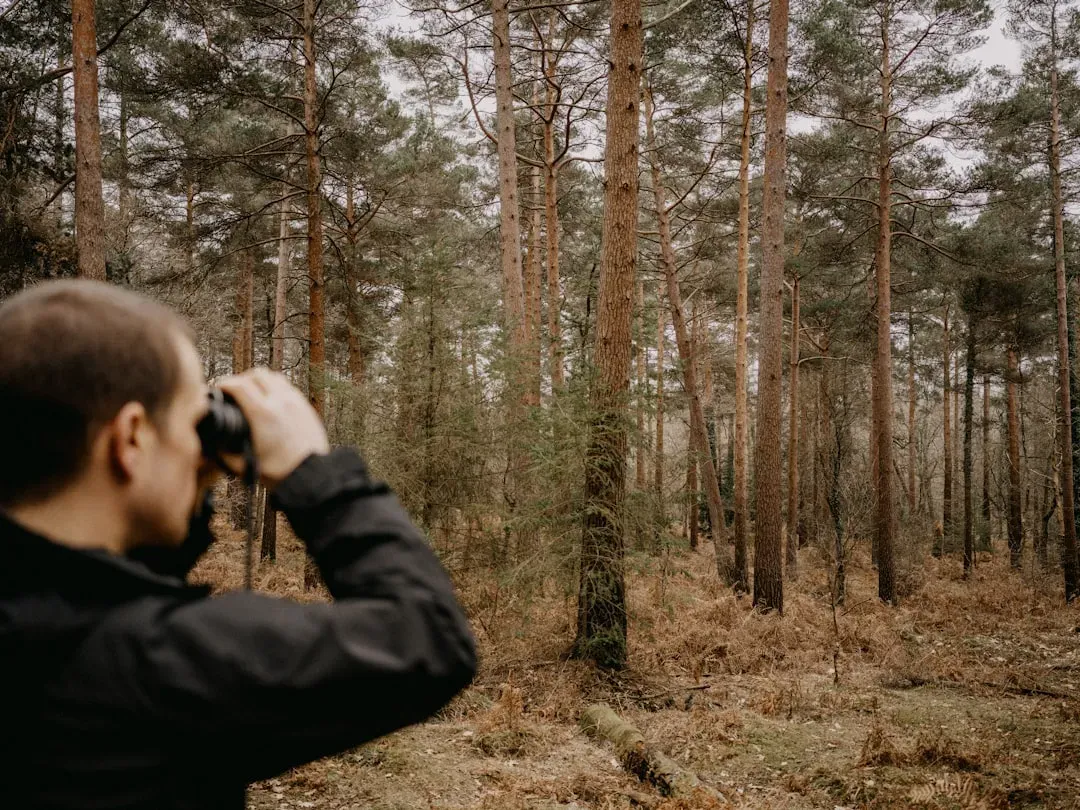
A quality pair of binoculars is the single most important piece of birding equipment. Even when watching from a window, binoculars let you pick up fine details like eye rings, wing bars, and subtle color differences that are impossible to see with the naked eye.
An 8×42 configuration is the standard recommendation for beginners. The “8x” means eight times magnification, and “42” refers to the lens diameter in millimeters. That combination gives you stable, bright images without needing to rest your arms on anything.
A beginner might choose a magnification power of 7 or 8 and a lens measurement of between 35 and 42. You don’t need to spend a fortune. A solid mid-range pair will serve you well for at least the first year of window birding.
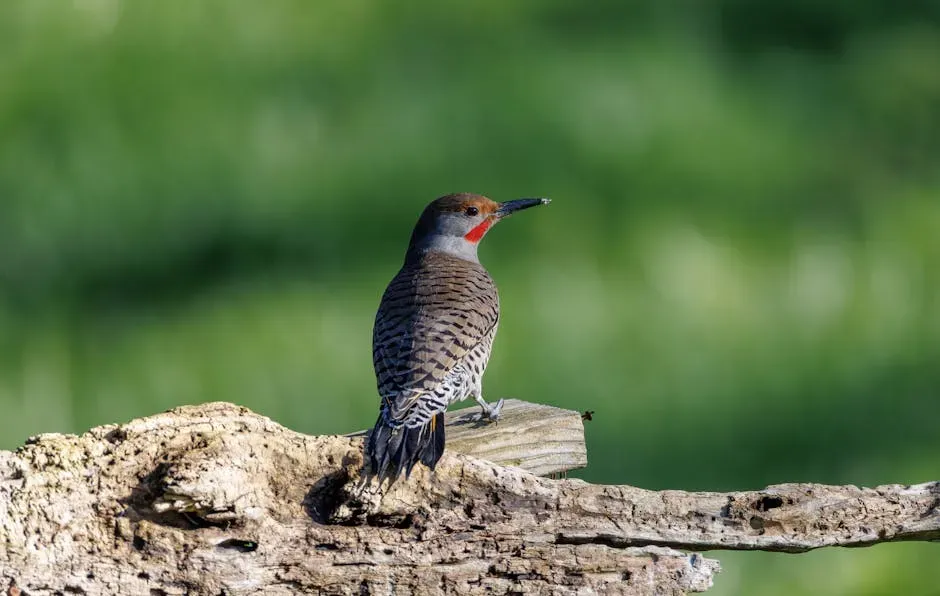
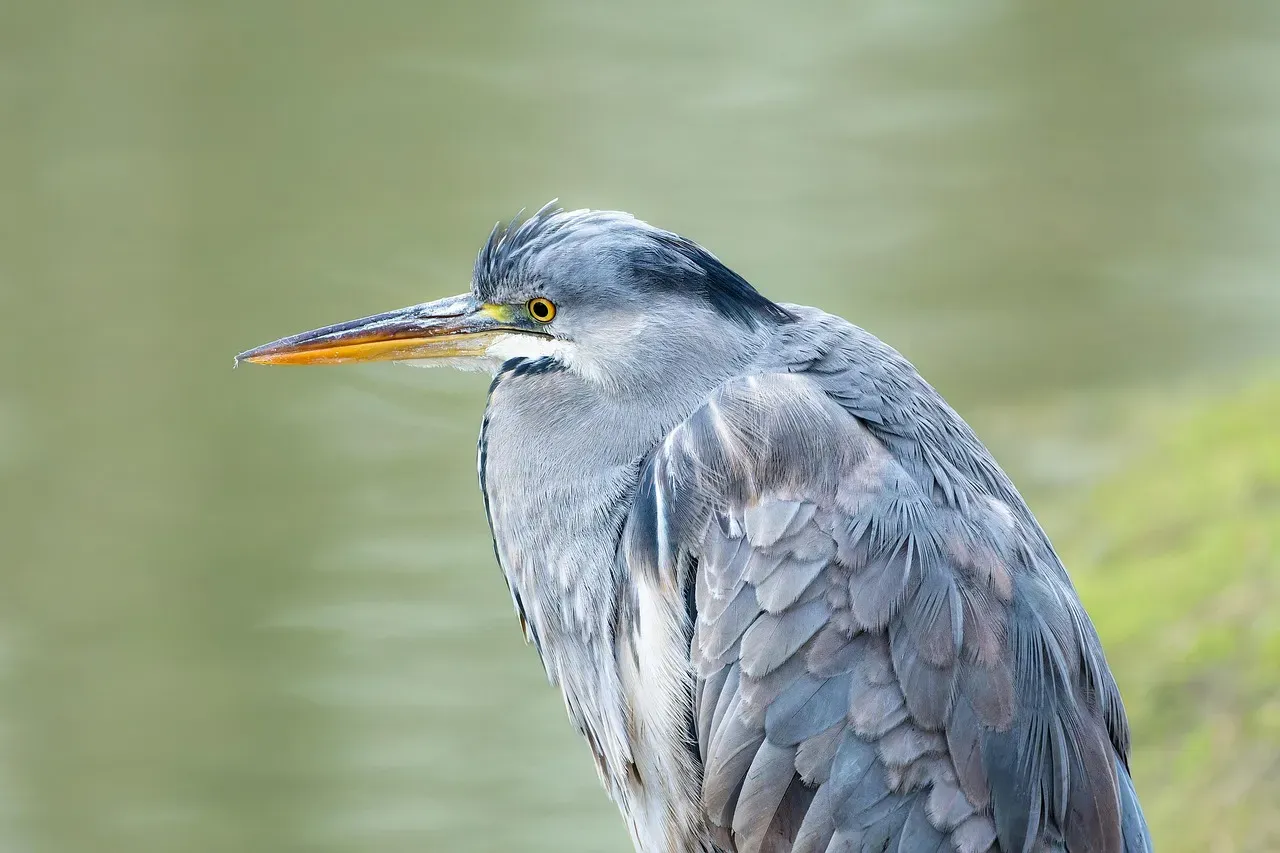
Step 3: Start With Size and Overall Shape
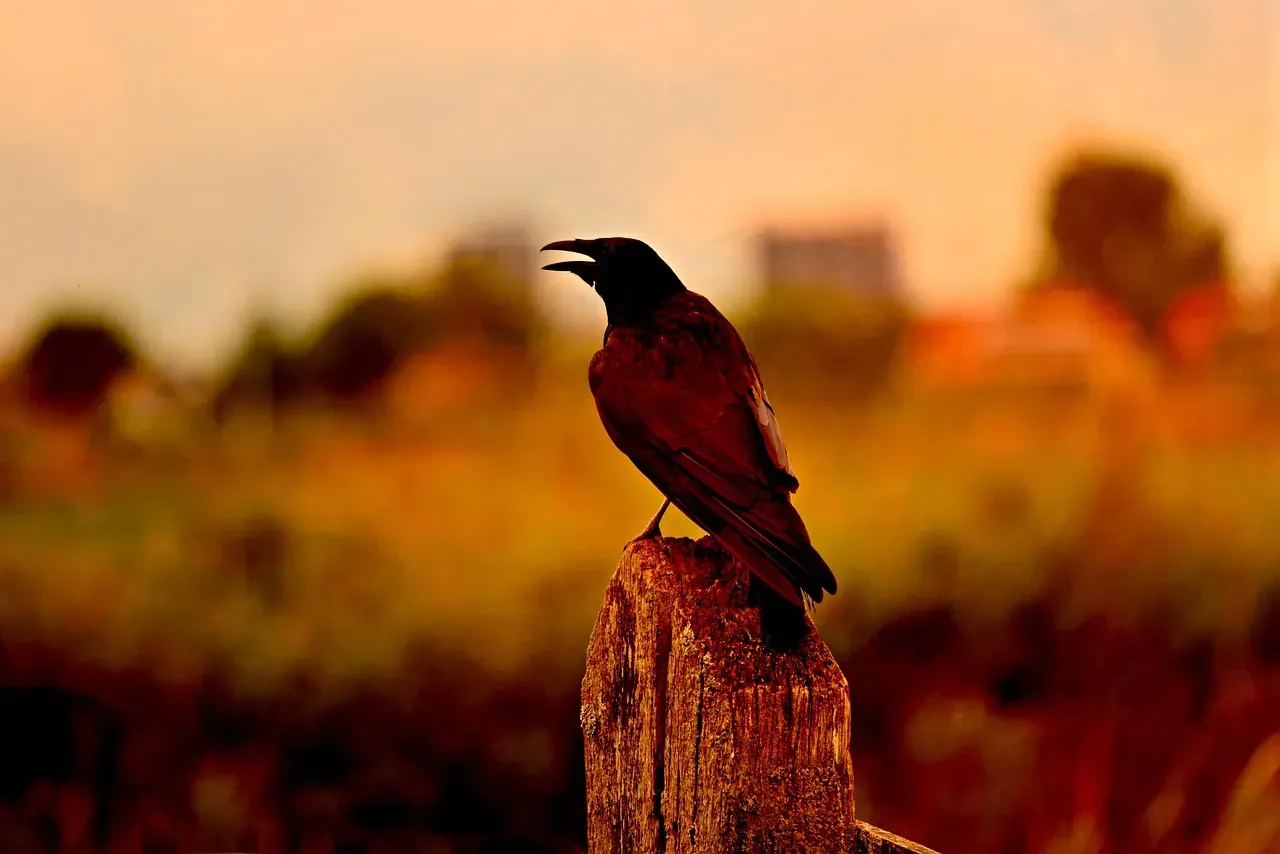
The easiest starting point for a bird identification is shape. Before you focus on color or markings, ask yourself what kind of bird you’re looking at in the broadest sense. Is it built like a sparrow, a duck, or a hawk?
Each bird species has a distinctive silhouette, a telltale shape that can narrow your search significantly. Whether it’s the streamlined figure of a heron or the robust form of a duck, learning these outlines is like recognizing the faces of friends in a crowd.
A bird’s size is hard to judge in isolation, so compare it to a well-known species. It’s more helpful to say “robin-sized” or “smaller than a sparrow” than to estimate its size in inches. That relative framing is how experienced birders think, and it works.
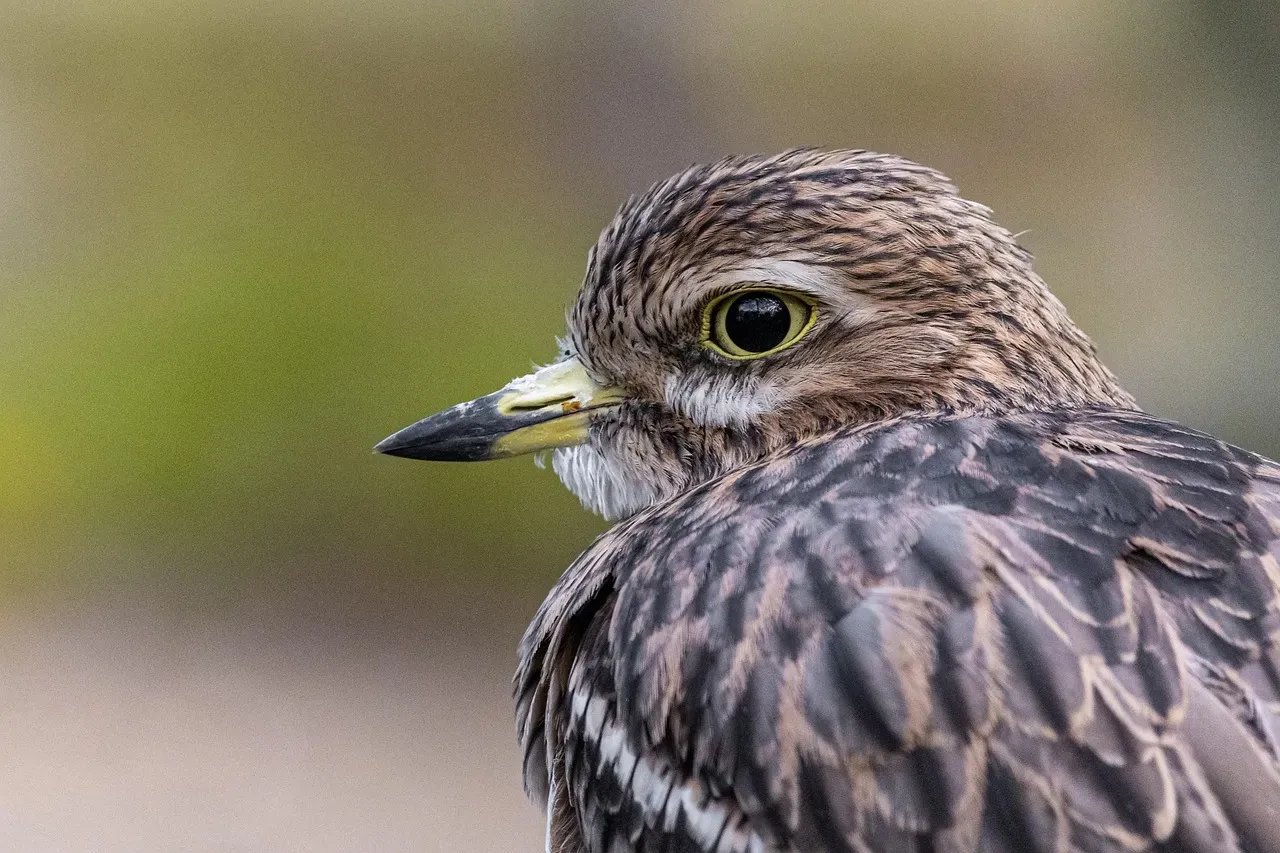
Step 4: Read the Bill, Wings, and Tail
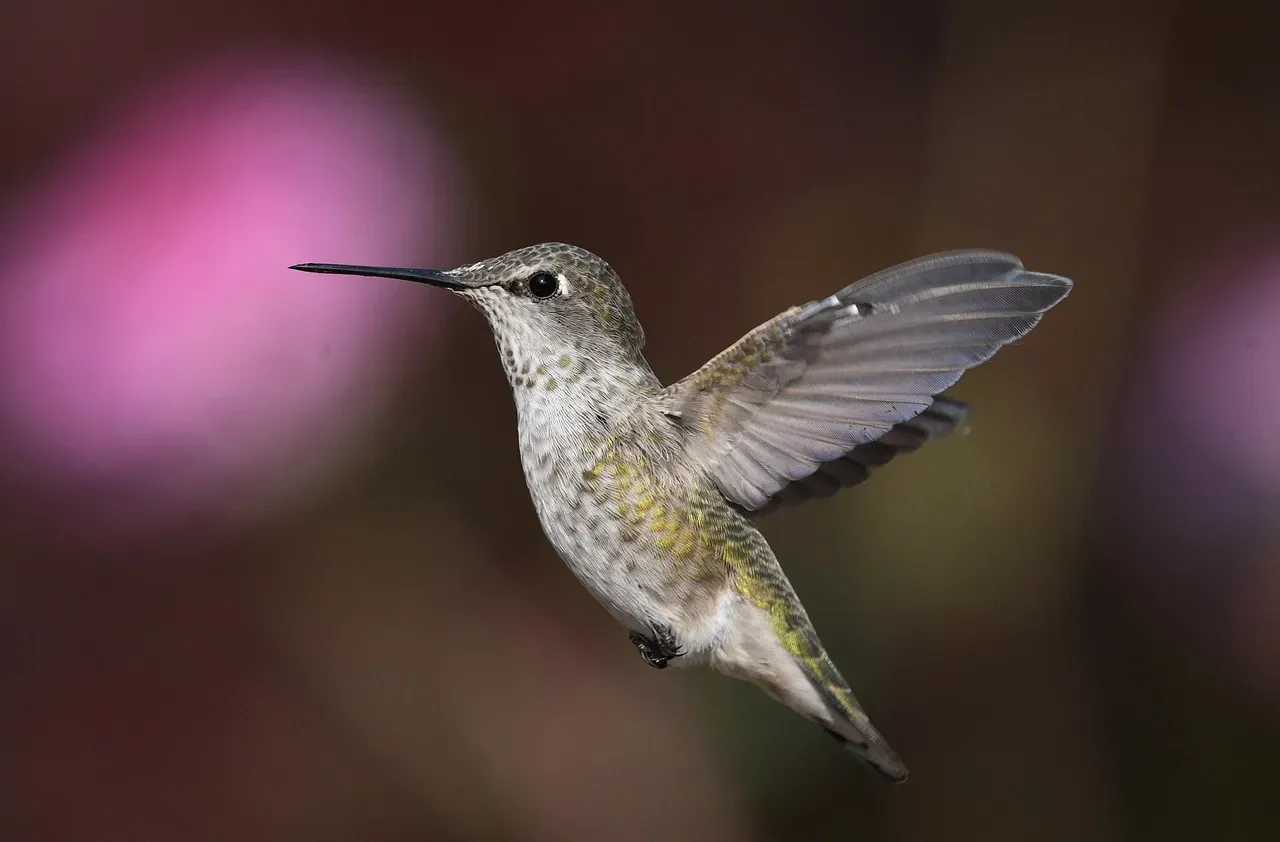
A bird’s bill reveals its lifestyle. Hawks tear meat with hooked beaks, finches crack seeds with thick ones, and warblers have thin, insect-grabbing bills. Getting a sense of the bill shape alone can narrow your options down to a family of birds in seconds.
The shape and behavior of the tail can be another identifier. Is it rounded, pointed, or forked? Is it long and narrow? How is it held, upright like a wren’s, straight behind, or pointed down? Tail posture is visible even at a distance and gives away a lot about species identity.
Long, pointed wings signal fast, direct flight patterns, while short, rounded wings mean quick maneuvers through dense cover. Tail length adds visual cues too, with a long, forked tail versus a short, square one shifting your identification from swallow to flycatcher.
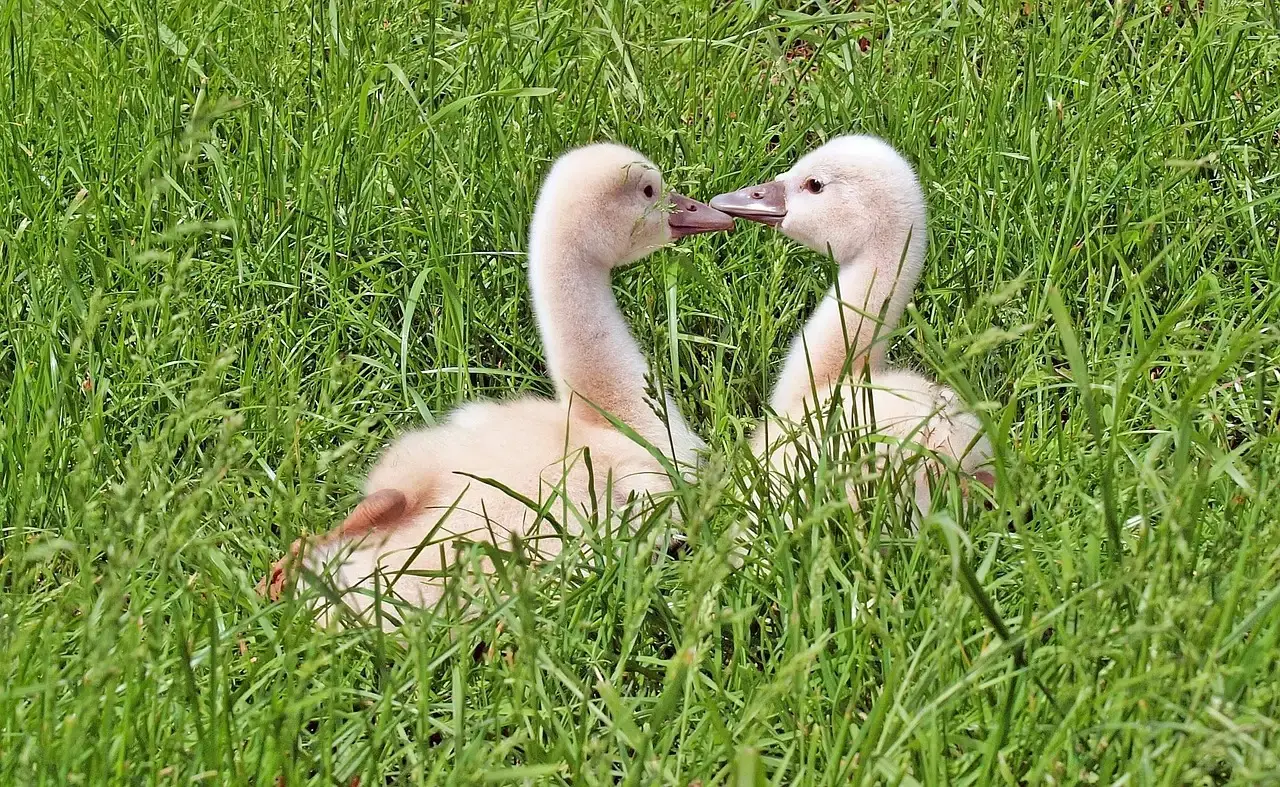
Step 5: Study the Field Marks Carefully
Field marks are the distinctive stripes, spots, patterns, colors, and highlights that birds have in such abundance and variety. Birds developed these patterns for many reasons, but one way they use some of these markings is to recognize members of their own species, and bird watchers can use them for the same purpose.
Look for a stripe over the eye, a line through the eye, a stripe along the midline of the head, a ring of color around the eye, and a throat patch. These head markings are often the detail that separates two otherwise similar species.
Look for wing bars, eye rings, and head stripes, since these small markings can make or break your ID. Wing bars appear as light-colored bands across folded wings, and they’re especially useful for separating sparrows and warblers. Take your time. These details are worth the patience.
Step 6: Watch How the Bird Moves and Behaves

What a bird was doing when you saw it can be just as important as what it looked like. Some birds cling to tree trunks or move along branches, while others forage on the ground or make short flights between perches. Behavior is often the overlooked clue that confirms a tricky identification.
How a bird moves can tell you as much as what it looks like. Some birds hop, others walk or climb tree trunks. Noticing feeding habits also helps, for example, nuthatches climb down trees headfirst, while finches often feed in groups at seed feeders.
The types of behavioral field marks include the walking of an American Crow versus the hopping of an American Robin, tree climbing of the woodpeckers, body bobbing of a Spotted Sandpiper, or the tail pumping of a Palm Warbler. Once you know these patterns, they become almost automatic to recognize.
Step 7: Train Your Ear to Bird Calls
Over half of all bird identifications in dense habitat are made by ear alone. That fact catches most beginners off guard. Sound is not a backup method. For many species, it’s the primary one.
Each bird species has its own unique sound. Learning to recognize songs and calls is one of the most powerful tools in bird identification. Start with the birds you see frequently, like robins, chickadees, or blackbirds, and match their songs to memory.
Apps and online libraries can help you learn faster. Over time, your ear will pick up on rhythms, tone, and pitch differences that reveal who’s singing in the trees around you. It takes a little time, but the improvement feels surprisingly rapid once you start paying attention.
Step 8: Use a Field Guide and Bird ID Apps Together
Don’t rely on memory alone. It’s best practice to record your observations in a notebook before you look in a field guide or online to identify the bird. If you start writing a description while the bird is still around, you may notice details you would otherwise miss or forget.
Merlin Bird ID offers four ways to identify birds: answering a few simple questions, uploading a photo, recording a singing bird, or exploring birds in a region. Whether you’re curious about a bird you’ve seen once or hoping to identify every bird you can find, the answers are available through this free app from the Cornell Lab of Ornithology.
Range maps are invaluable for confirming that the bird you’re looking at actually lives where you’re standing. Most field guides and birding apps include them, showing you which species are expected in your area during each season. They help rule out rare vagrants or cases of mistaken identity.
Conclusion: The Window Is Enough to Begin
What makes window birding so accessible is also what makes it genuinely rewarding. You’re not fighting the weather, carrying heavy gear, or rushing anywhere. The birds come to you, and the pace is entirely your own.
Every time you notice a bird, you’re building your identification skills, even if it’s just a ten-minute observation of species you see every day. From recognizing shapes and sizes to reading behavior and habitat cues, each piece of knowledge builds on the last.
Identification is really just observation made deliberate. Start with shape, read the bill, track the movement, and let the sounds fill in what your eyes miss. Over time, the birds outside your window stop being anonymous visitors and become recognizable individuals with distinct habits and personalities. That shift, from “a bird” to “that nuthatch again,” is where the real pleasure quietly begins.
Worried about unexpected vet bills?
Pet insurance can cover thousands in unexpected vet costs. Get a free quote from Lemonade in under 2 minutes.
Get My Free Quote →Sponsored · Opens Lemonade.com