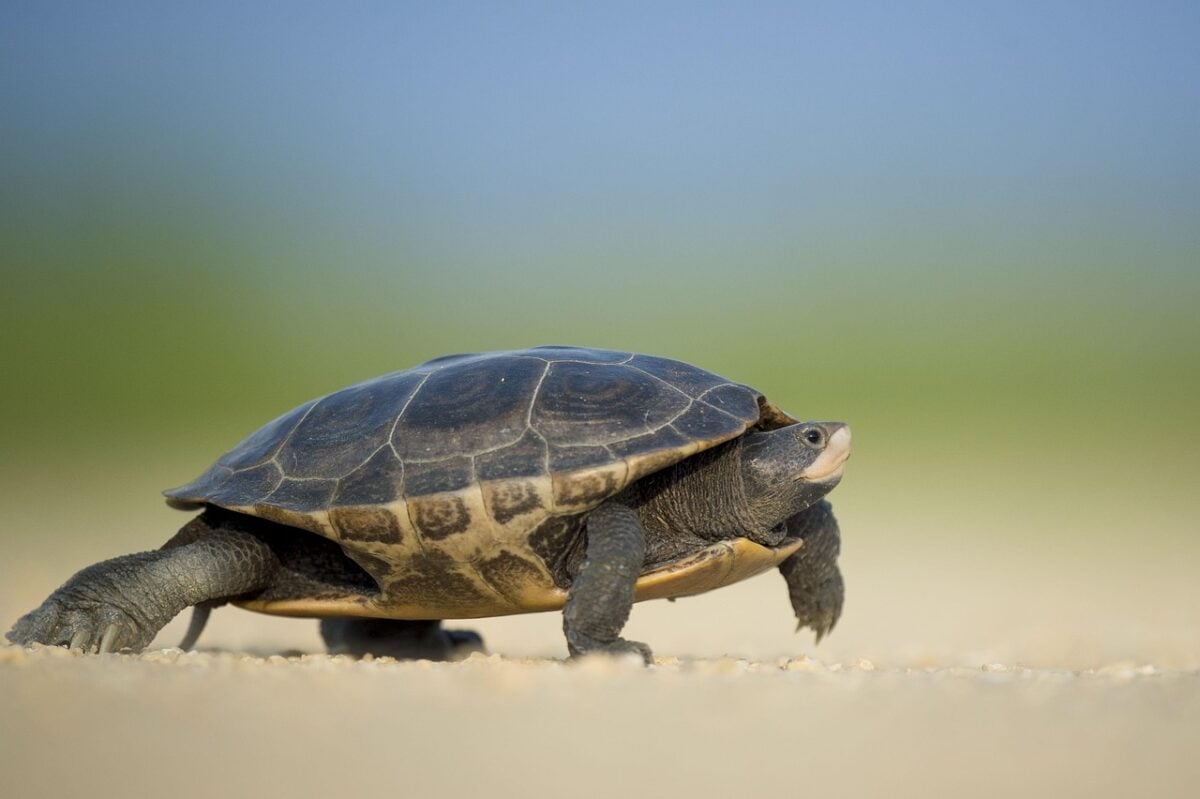
If you’ve ever stared at a messy corner of your yard and thought, “I should really clean that up,” you might be sitting on a secret wildlife goldmine. A well‑designed brush pile can shelter birds, toads, pollinators, and small mammals, all while looking intentional instead of like you forgot trash day. The trick is turning that jumble of sticks into something that feels like part of your landscape, not a mistake you keep ignoring.
What surprised me the first time I built a brush pile was how quickly life showed up. Within a week, I saw wrens hopping through the gaps, a chipmunk darting underneath, and butterflies using the sunny edges. When you build it thoughtfully – choosing the right spot, shape, and materials – it feels less like yard waste and more like a tiny, handcrafted wildlife condo. Let’s walk through seven ways to pull that off without making your yard look like a storm just blew through.
1. Start With the Right Location, Not Just the Leftover Corner
The easiest mistake is to dump branches in the most inconvenient, already-ugly corner and call it done. Wildlife will still use it, but you’ll resent the view every time you step outside. Instead, think like a garden designer: choose a spot that’s slightly tucked away, such as along a fence, near a hedgerow, or at the back of a flower bed, where it can blend into existing structure.
Look at how the sun moves across your yard too. A mix of light and shade along the edges is ideal because some critters love cool, shady cover while others bask near the sunny fringes. Keep a little distance from your house or wooden sheds to avoid encouraging animals where you don’t want them, and be mindful of fire safety rules where you live. You’re aiming for intentional, not invisible: a place where the pile feels like a planned feature, not an accident.
2. Build a Solid, Elevated Base So It Never Looks Like Rotting Trash
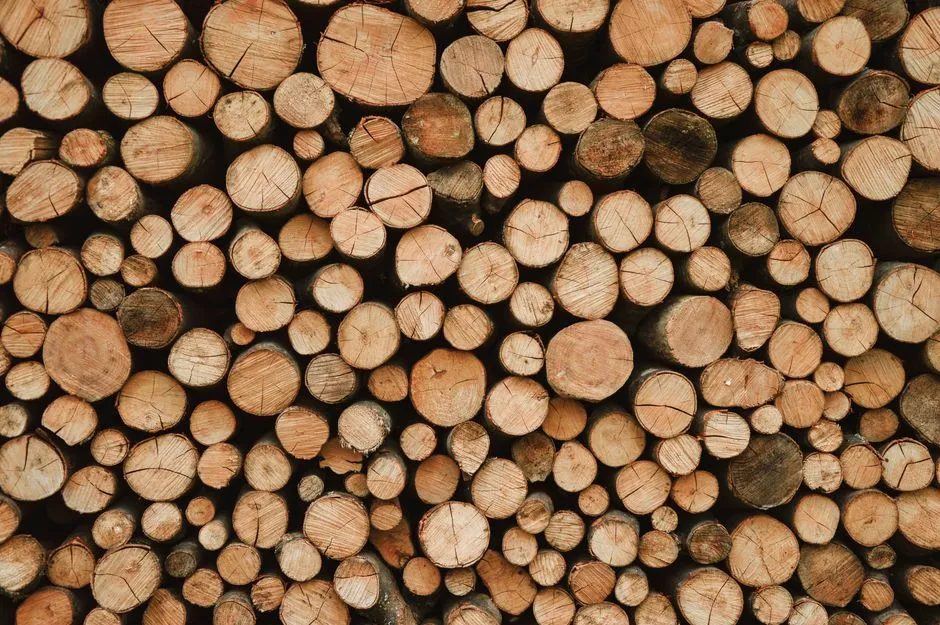
A sturdy base is the difference between a wildlife shelter and a sagging heap. Start with thicker logs or limb sections laid in a crisscross pattern, like you’re stacking Lincoln Logs for grown‑ups. This creates air pockets and long-lasting structure, which small animals love because they get dry, secure hiding spots instead of a damp mat of debris.
By slightly elevating the bulk of the pile off the ground with these larger pieces, you also slow down decay and keep the structure looking more like a stacked feature than a collapsed mess. It helps with drainage, reduces moldy odors, and makes it easier for creatures like toads, garter snakes, and ground beetles to move in and out. Think of it as the foundation of a tiny apartment building: if you skimp here, everything above eventually caves in and looks terrible.
3. Layer From Thick to Thin for a Natural, Architectural Look
Once your base is in place, you can start layering branches the way a forest naturally drops them over time. Place stout branches first, then medium ones, and finally thin twigs and brush on top. This thick‑to‑thin structure looks more intentional to the human eye, like a carefully built stack of kindling rather than a random dump of yard waste.
Wildlife benefits from this layered architecture too. Larger branches create tunnels and cavities, while finer twigs at the top trap leaves and provide extra insulation. Birds may use the dense upper layer as a quick shelter from hawks, while chipmunks or small rabbits hide deeper inside. With each layer, step back and look at the silhouette: you’re aiming for something that roughly forms a low mound rather than a lopsided spike.
4. Shape It Like a Low Mound, Not a Spiky Disaster
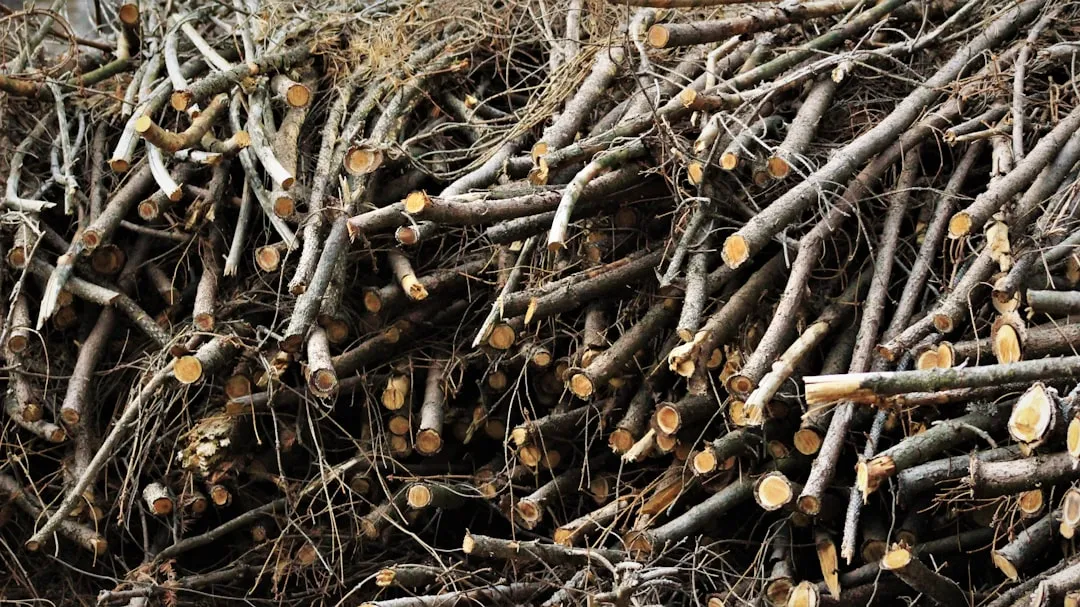
Shape is where aesthetics really kick in. Instead of a tall, chaotic cone, aim for a low, gently rounded mound, a bit like a natural berm or a shrubby hill. Most people find softer, horizontal shapes calmer and more garden‑like than sharp, vertical ones, and it also makes the pile less likely to topple or blow apart in storms.
As you add material, keep the highest point a little off-center rather than directly in the middle, so it feels more like a natural drift of debris and less like a bonfire stack waiting for a match. Tuck stray, long branches inward, and avoid dramatic stick “antennas” poking out everywhere. You still want texture – it is a brush pile, after all – but with a bit of editing so it reads as deliberate from a distance.
5. Blend It With Plants So It Becomes a Habitat Island
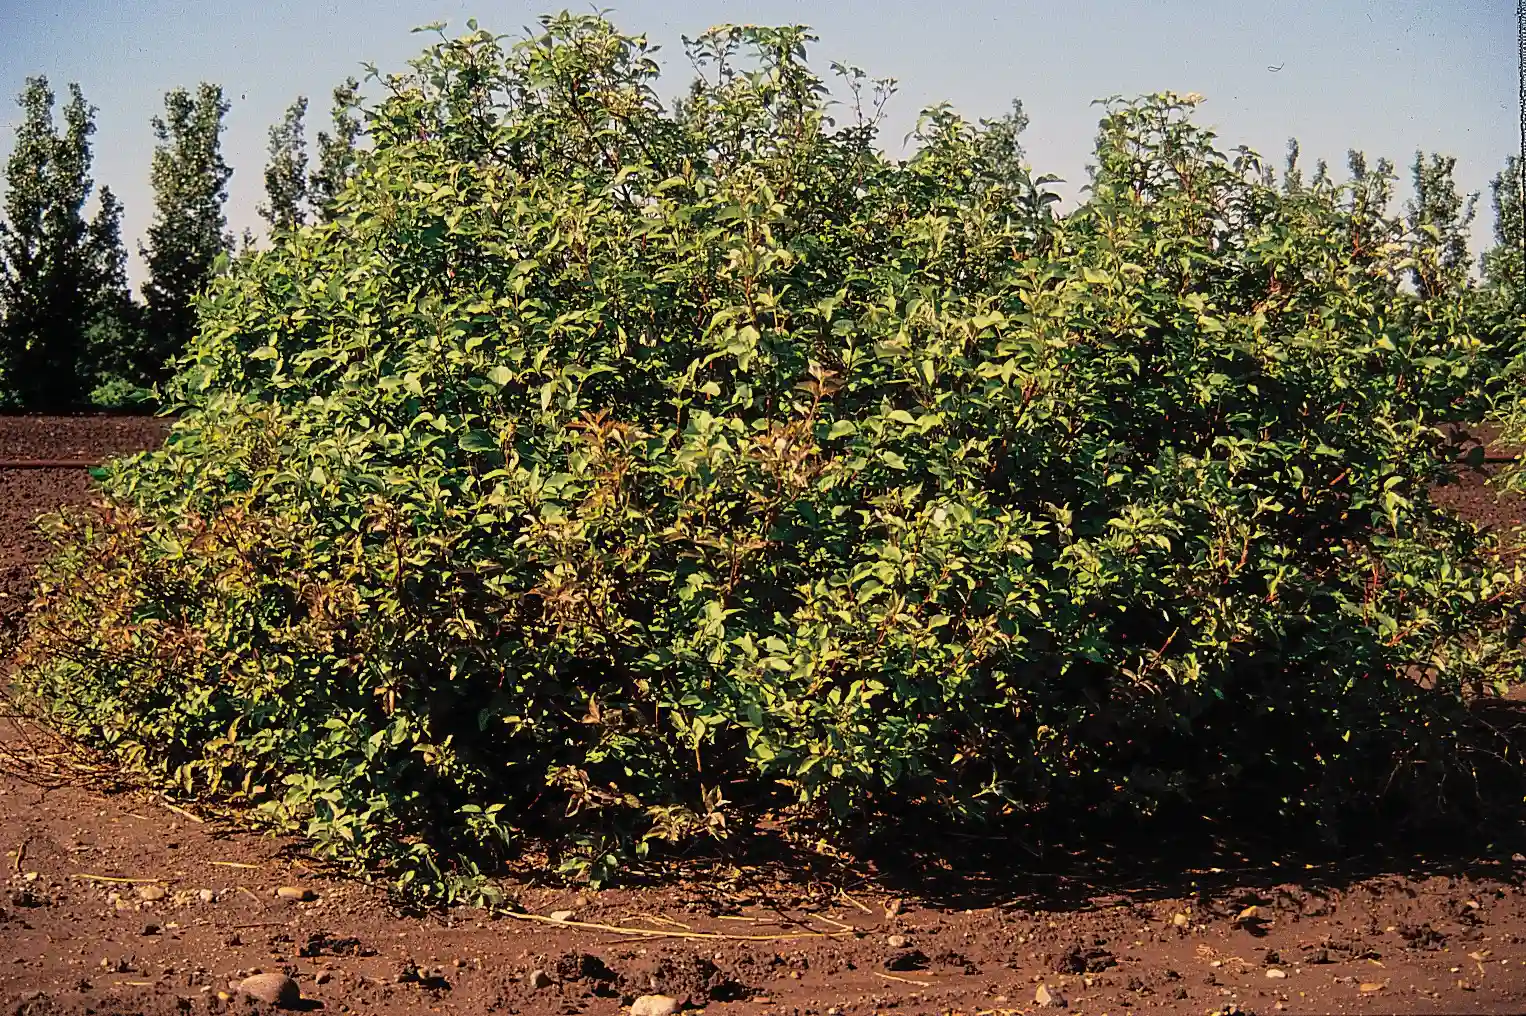
This is the big secret to keeping a brush pile from being an eyesore: frame it with plants. Surround the pile with native grasses, wildflowers, or low shrubs so it becomes one piece of a larger composition. Imagine the brush pile as a rocky outcrop in a meadow; you’re planting the “meadow” around it so the whole scene looks intentional and alive.
You can use taller perennials or ornamental grasses at the back to soften the outline and shorter plants at the front so you still see some of the pile. Over time, vines like native honeysuckle or Virginia creeper can gently scramble over parts of it, turning bare sticks into a textured, living sculpture. Pollinator-friendly plants nearby also multiply the benefits: insects feed on the flowers, then shelter in the pile when the weather turns rough.
6. Choose Wildlife‑Friendly Materials and Skip the Problem Stuff
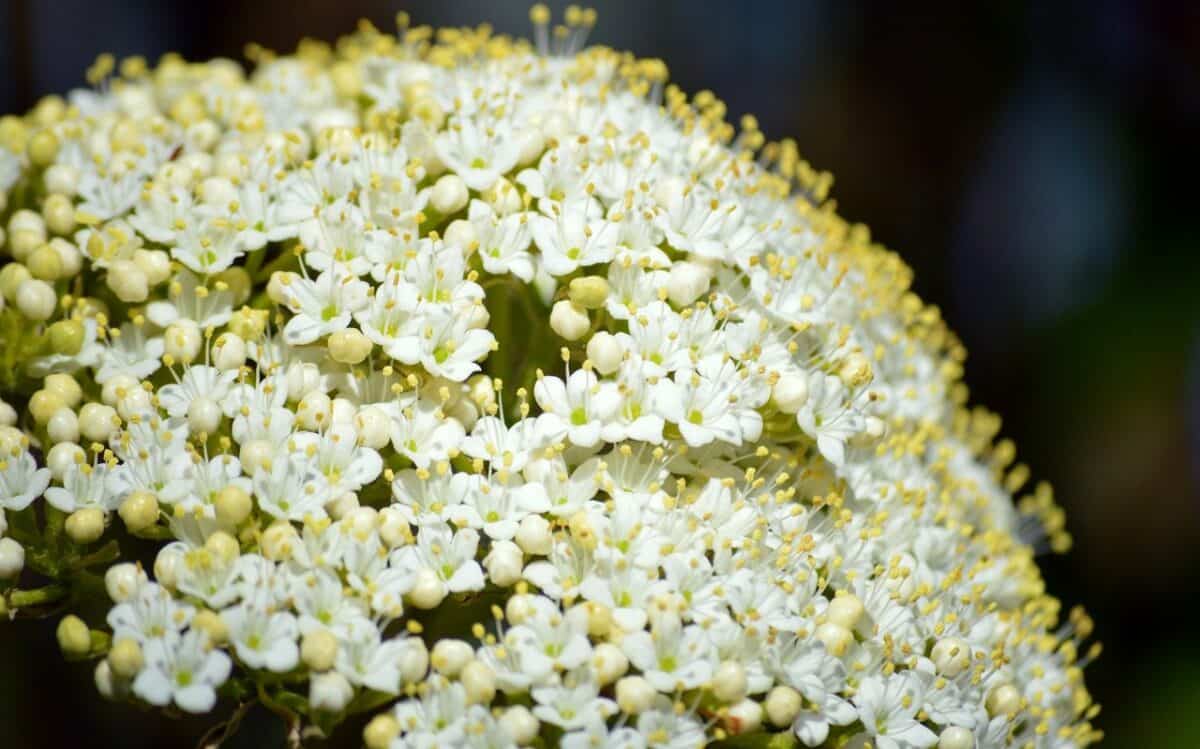
Not every piece of debris belongs in a brush pile, even if it’s technically “natural.” Stick to untreated wood, fallen branches, prunings from shrubs and trees, dry leaves, and small logs. These offer cover, slowly decompose into rich soil, and avoid leaching anything nasty into your yard. As they break down, they also support fungi and invertebrates, which in turn feed birds and other animals.
Avoid anything that could cause trouble: pressure‑treated lumber, painted boards, plastic twine, invasive plant cuttings, or thorny clippings that could injure pets or kids. If you’re removing invasive shrubs, do not stack their seeding branches in your wildlife pile, or you could help them spread. Think of your materials list like ingredients in a recipe: if you would hesitate to sprinkle it into your vegetable garden soil, it probably does not belong in a habitat pile either.
7. Keep It Tidy at the Edges and Commit to Light Maintenance
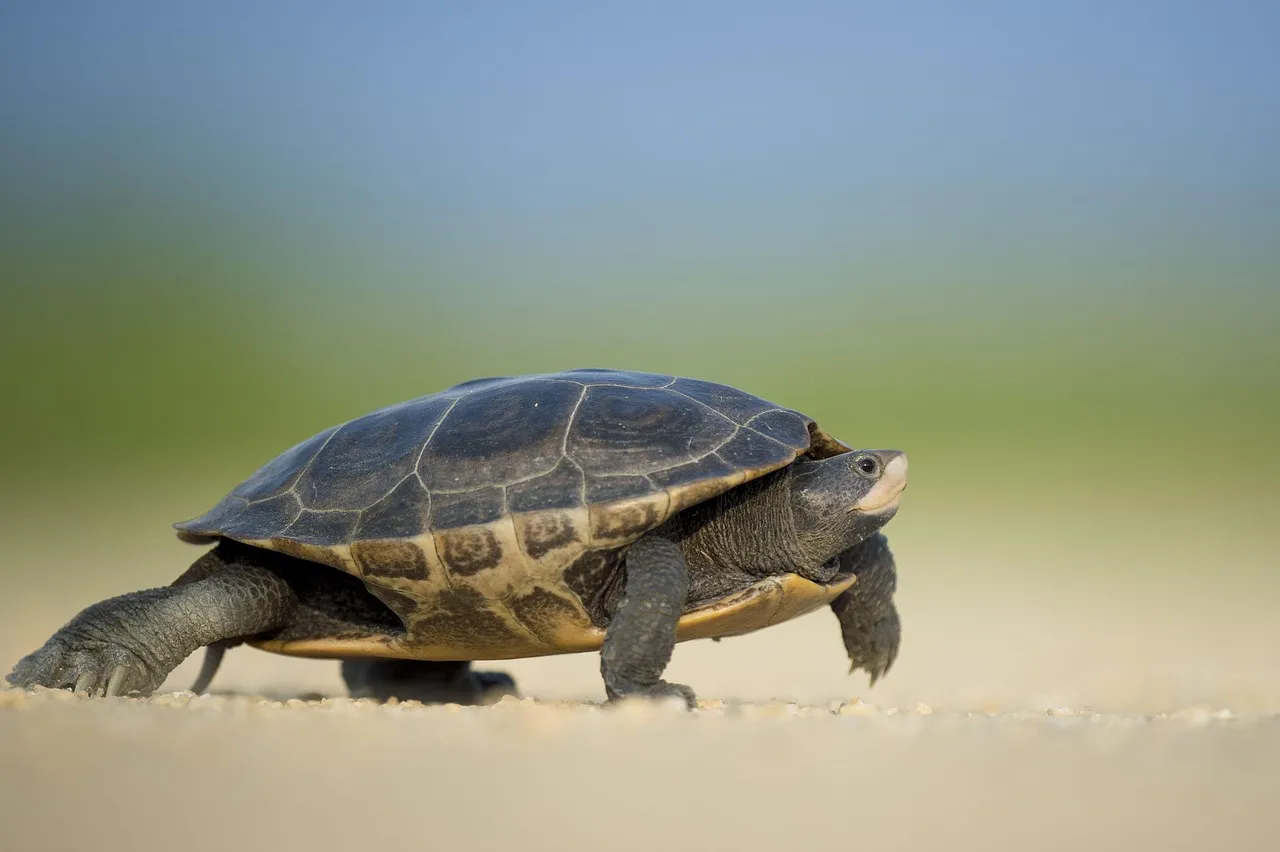
A wild core with tidy edges is the sweet spot between messy and manicured. Use a rake or your hands to define a clean border around the base – bare soil, mulch, or a short groundcover strip. That simple frame can make even a rough pile look deliberate, the way a picture frame makes a chaotic painting suddenly feel like art instead of clutter.
Every so often, maybe once or twice a year, give the pile a quick check. Add fresh branches on top as older ones decay, trim anything that collapses into pathways, and remove trash if it somehow blows in. Resist the urge to “clean it up” too thoroughly; a bit of sagging and leaf litter is part of the charm and what makes it useful for wildlife. Think of yourself less as a housekeeper and more as a caretaker, gently guiding the pile as it evolves rather than trying to freeze it in some perfect, pristine state.
Conclusion: Let Your Yard Be a Little Wild on Purpose
There’s something quietly rebellious about turning what most people treat as waste into a sanctuary. In a world where every outdoor space is pushed toward perfect, flat, and sterile, a thoughtfully built brush pile says you’re choosing life over appearances alone. It proves that you can have both: a yard that looks cared for and a corner that teems with hidden wings, paws, and tiny hearts beating under the sticks.
My own opinion, after trying the hyper‑tidy approach and then leaning into habitat, is that a slightly wild yard feels more honest and more relaxing. When you see a wren vanish into the pile or a toad tucked beneath the logs, that small structure stops being “mess” and becomes a story unfolding in slow motion. If one low, rounded mound of branches can feed that much life without wrecking your view, why wouldn’t you claim that little bit of wildness for yourself?