
Picture the classic “kind” setup: a fluffy blanket folded into a box, a coop sealed up like a thermos, a yard raked down to bare dirt. It looks like care. When temperatures crash, it can do the opposite.
Cold snaps punish moisture, drafts and wasted body heat far more than they punish thin walls. Below are eight fixes based on what animal-care groups and wildlife organizations actually recommend, and several will feel backwards. One tells you to leave a mess alone. Another tells chicken keepers to let in more cold air on purpose. And the one waiting at #1 is a gesture most of us make without a second thought.
#8 – Hang a Door Flap and Raise the Entrance
🔥 Would you like to save this?
We'll email this post to you, so you can come back to it later!
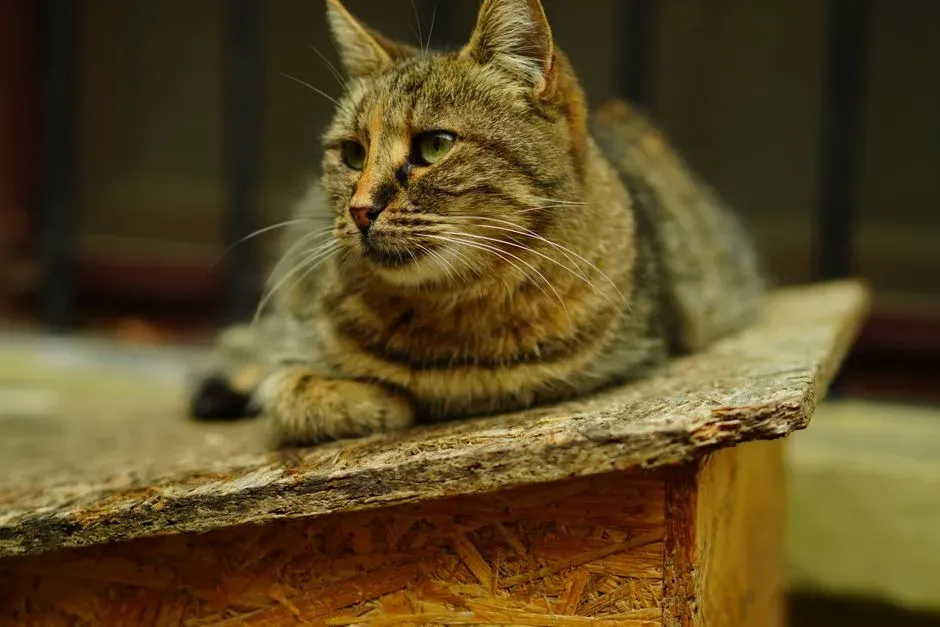
Wind rarely sneaks in through the walls. It walks right through the front door.
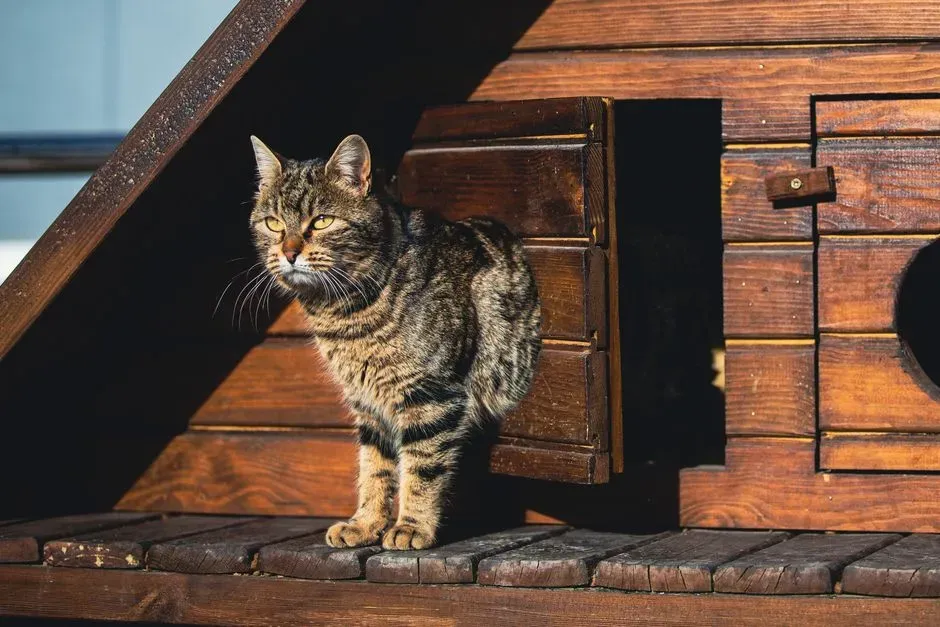
A shelter can be well built and still lose its heat at the opening, like a cabin with the front door propped open. A door flap over the entryway keeps out cold air and potential predators. The entry should also sit several inches above ground level so rain and snow don’t pour in with every storm.
There’s a second trick for the doorway. An awning over the opening, made from roll plastic or heavy plastic garbage bags, adds insulation and blocks rain and wind. It also makes cats feel safer. That last part matters, because a nervous cat won’t use a shelter however warm it is.
Quick checklist for the entrance:
- A flexible flap over the opening
- An entry raised several inches off the ground
- A plastic awning to break the wind
- Snow cleared from the shelter regularly
An awning made from a heavy garbage bag can do real work against wind and rain. It costs next to nothing.
Our opinion: plenty of decorative cat houses with a wide-open front are props, not shelters. If the doorway can’t block wind, it isn’t doing the job.
But that’s nothing compared to what comes next at #7, and it involves a birdhouse you may have put away too early…
#7 – Leave Bird Boxes Up and Refresh Them for Roosting

🔥 Would you like to save this?
We'll email this post to you, so you can come back to it later!
That birdhouse you stored in October? Small birds may have wanted it in January.
Roost boxes and nest boxes are not the same thing. Roost boxes are a bit larger than birdhouses and have less ventilation to preserve heat. Cavity-nesting birds like bluebirds, chickadees and nuthatches are the ones that benefit.
Quick Compare
- Roost box: slightly larger, with less ventilation, built to hold warmth
- Standard birdhouse: smaller, with more airflow, designed around nesting season
- Best winter users: bluebirds, chickadees and nuthatches
Birds also pool their warmth. Body heat shared inside clustered shelters can significantly raise the internal temperature. A Wildlife Trusts spokesperson notes that a nest box may hold a cluster of wrens, who often gather together for warmth at this time of year.
Wrens will pile into a single box together to share body heat.
A little maintenance makes a box winter-ready:
- Remove old nesting material (wear gloves and use hot water). Once it’s dry, add hay or wood shavings.
- Clean out old nests to reduce the chance of parasitic bugs surviving the winter.
- Fix any holes or crevices that could let cold air in.
Do it before the freeze. A box that’s cleaned and patched is far more useful than one you scramble to fix mid-storm, with numb fingers and a sky full of sleet.
But that’s nothing compared to what comes next at #6, and it’s probably sitting in your yard waste bin right now…
#6 – Pile Up Brush and Wood Instead of Bagging It

🔥 Would you like to save this?
We'll email this post to you, so you can come back to it later!
The “messy” corner of your yard may be the most useful shelter you own.
After autumn pruning, most people bag the cuttings and haul them to the curb. The Wildlife Trusts suggest building a wood pile with them instead. It helps sleepier species such as newts and certain beetles that are looking for a place to shut down for winter.
Different piles serve different animals. Brush piles, wood piles and fallen logs shelter small mammals, insects and amphibians. Brush piles also offer a natural refuge for smaller birds.
A used Christmas tree can become an instant winter shelter for birds and wildlife. That’s the Farmer’s Almanac’s suggestion.
Climate changes the best design:
- Snowy, sub-zero regions: layered brush piles and dense evergreens
- Cold rain and ice storms in the Southeast: tarp-topped wood piles and evergreen cover that sheds water
Our take: the spotless winter yard is the real mistake. Tidy looks good to us. It offers almost nothing to the animals trying to get through a freeze.
But that’s nothing compared to what comes next at #5, and it’s about how much birds must eat just to stay warm…
#5 – Plant Evergreen Cover and Shelter Feeders and Water
🔥 Would you like to save this?
We'll email this post to you, so you can come back to it later!
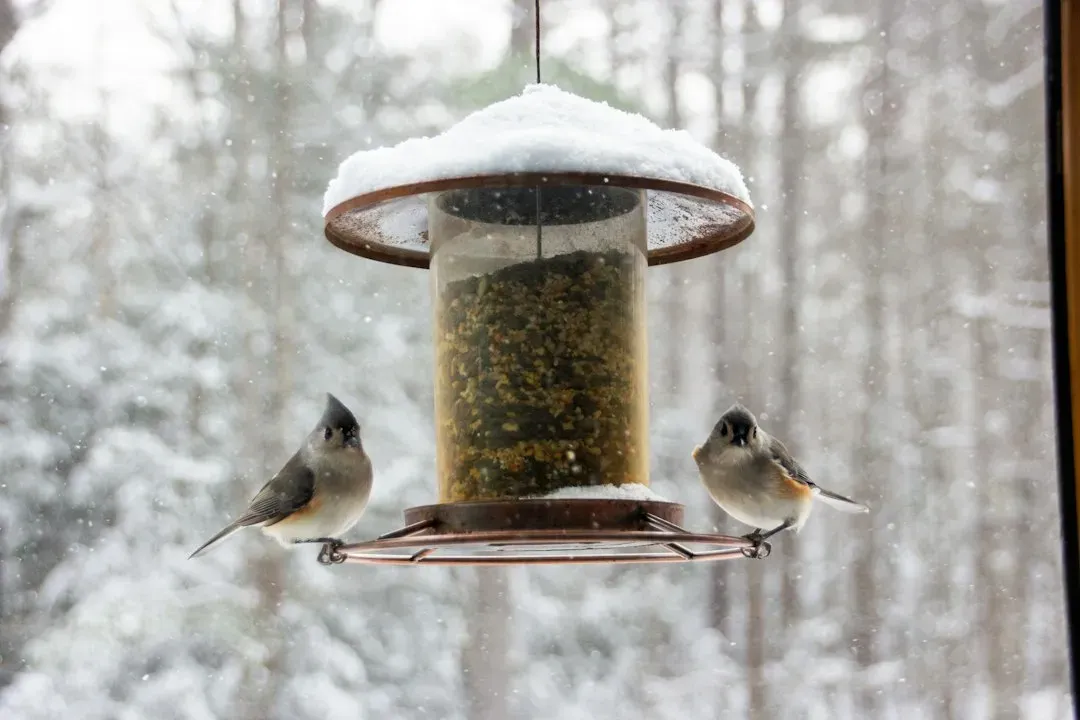
Birds don’t just need a roof. They need to avoid burning energy on every trip to eat.
Birding experts Kenn and Kimberly Kaufman recommend evergreen trees and shrubs, especially if you avoid trimming off the lower branches. Hedges or groups of native shrubs also work. Dogwood, sumac and native roses are examples.
Worth Knowing
- Lower evergreen branches are the wind break, so leave them on.
- Native shrubs like dogwood, sumac and native roses add cover in groups.
- Plexiglass on a feeder roof cuts wind and spray.
- Cedar branches attached to a feeder add a cheap, natural screen.
Feeders can be sheltered too. One reader attaches plexiglass to feeder roofs. Another attaches cedar branches to feeders for added protection. The aim is the same: less wind, less exposure.
Here’s why it matters. The British Trust for Ornithology says small birds must eat more during a cold snap because they can’t store fat as we do. A bird with no fat reserves can’t afford to waste energy fighting wind at the feeder.
Don’t forget water:
- Heated birdbaths keep water from freezing.
- Keep water shallow, with gradual, rough-textured edges.
- For cats, spray insulation foam into the underside of plastic dishes to slow freezing.
A feeding station for community cats shields food, water and the cats from the elements. Picture the difference between eating in a gale and eating with your back to a wall.
But that’s nothing compared to what comes next at #4, and the experts don’t fully agree on it…

Smart Bird Feeder with Camera Solar Powered, 2K HD Live Video, 10,000+ Bird Species AI Identification
Check Price on AmazonAs an Amazon Associate, we earn from qualifying purchases.
10/7/2026 1:22 pm GMTi
Halloween Dog Collar with Bow, Orange Cute Ghost Collar,
Check Price on AmazonAs an Amazon Associate, we earn from qualifying purchases.
10/9/2026 2:43 pm GMTi

Professional 7 in 1 Dog Paw Cleaner for Dogs & Cats - Includes 1 Portable Paw Washer, 1 Bath Brush
Check Price on AmazonAs an Amazon Associate, we earn from qualifying purchases.
10/7/2026 1:26 pm GMTi
Halloween Cat Costume Cloak Witch Hat Pet Accessories
Check Price on AmazonAs an Amazon Associate, we earn from qualifying purchases.
10/9/2026 2:44 pm GMTi
PetSafe Oasys Pet Fountain, 1/2 Gallon (64 oz), Small Dogs & Cats
Check Price on AmazonAs an Amazon Associate, we earn from qualifying purchases.
10/8/2026 8:14 am GMTi
#4 – Lift the Shelter Off the Ground
🔥 Would you like to save this?
We'll email this post to you, so you can come back to it later!
Frozen, wet ground is working against every shelter that sits on it.
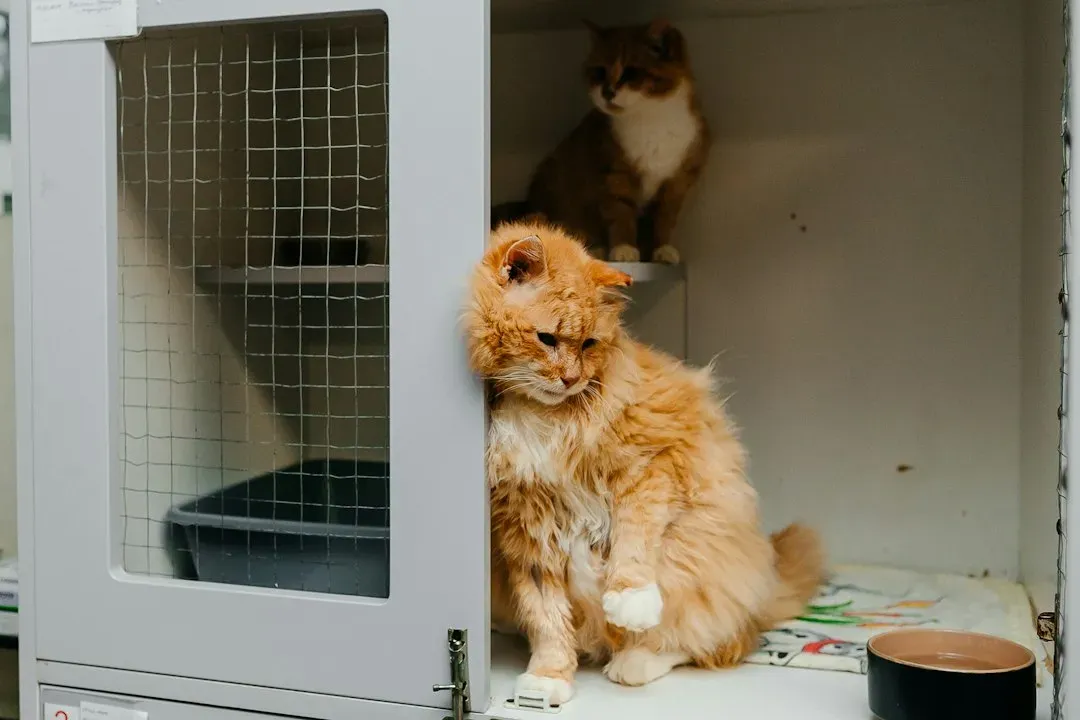
Elevating a shelter protects cats from cold, wet ground and makes it easier for them to warm the space with their body heat. Raise it off the ground and put straw underneath for extra insulation.
You don’t need fancy materials. Two 2x4s or similar pieces can lift the shelter. One guide suggests a 2–4 inch lift.
Here’s where the groups differ. ASPCA guidance says to put the shelter on a slight slant so rain and melting snow drain away. Alley Cat Allies says to make sure it’s level and elevated. The shared goal is that water must not pool around or inside the shelter.
Cardboard and metal housings don’t insulate at all. That’s the guidance from Cats in Action. If you’re using cardboard in a pinch, replace it with a waterproof, insulated shelter as soon as possible.
But that’s nothing compared to what comes next at #3, and it flips the “bigger is better” idea on its head…
#3 – Shrink the Space So Body Heat Does the Work
🔥 Would you like to save this?
We'll email this post to you, so you can come back to it later!
A bigger shelter isn’t a warmer shelter. It’s just more air to heat.
The ASPCA says a small, low sleeping space is preferable to a large dog house, crate or igloo. Bideawee recommends a space lined with straw and just big enough for three to five cats to huddle.
The logic is simple. Strong insulation traps body heat, which turns the cats into little radiators. A tight space lets those radiators warm the whole room. Use a cat-sized entrance and a low sleeping space.
Why It Stands Out
- Less empty air means less to warm up.
- A snug room lets shared body heat do the heating.
- A cat-sized entrance keeps wind and larger animals out.
- The build is cheap and quick, with no special tools.
The materials are cheap and easy to find:
- A foam cooler about 2 inches thick
- A double-insulated plastic storage bin
- One-to-two-inch foam insulation to line a plastic or wooden shelter
A basic insulated cat shelter can be built for about $20–$35 in materials and less than an hour of effort. That figure comes from one pet-insurance guide. Costs will vary by region and supplier.
Our opinion: the big, roomy “luxury” house is mostly built for the buyer’s eyes. For the animal, snug wins every time.
But that’s nothing compared to what comes next at #2, and it concerns a mistake chicken keepers make by being too careful…
Air Purifiers for Home Pets Large Room Up to 3000 Ft²,HEPA Air Cleaner with Washable Double-Side Filter, PM2.5 Air Quality Monitor,15dB Sleep Mode for Bedroom Odor Dust Pollen,White
Check Price on AmazonAs an Amazon Associate, we earn from qualifying purchases.
10/8/2026 8:23 am GMTi

Portable Dog Water Bottle Foldable Dog Travel Water Bottle
Check Price on AmazonAs an Amazon Associate, we earn from qualifying purchases.
10/7/2026 1:29 pm GMTi
Glass Hummingbird Feeder for Outdoors Hanging
Check Price on AmazonAs an Amazon Associate, we earn from qualifying purchases.
10/7/2026 1:21 pm GMTi
Glass Hummingbird Feeder for Outdoors Hanging, 16 oz Leak-Proof Nectar Feeder with Bee Guards & Ant Moat
Check Price on AmazonAs an Amazon Associate, we earn from qualifying purchases.
10/7/2026 1:22 pm GMTi
Dog Stairs for Bed 18" H, 4-Step Dog Steps for High Bed
Check Price on AmazonAs an Amazon Associate, we earn from qualifying purchases.
10/9/2026 2:42 pm GMTi
#2 – Ventilate the Coop Even When It Feels Wrong
🔥 Would you like to save this?
We'll email this post to you, so you can come back to it later!
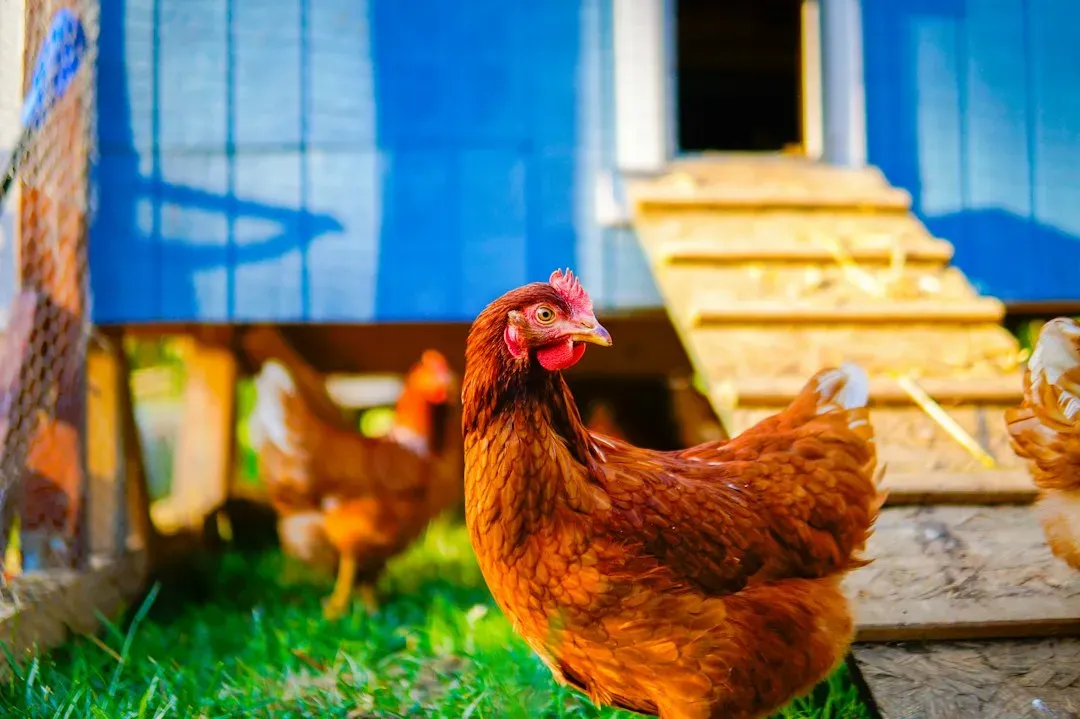
Sealing a coop tight can hurt chickens more than the cold itself.
Frostbite is more likely at night in a cold, poorly ventilated coop with damp bedding. Combs, wattles and possibly toes are the most vulnerable. The culprit is moisture, not just temperature.
Flocks make a lot of it. Chickens generate a great deal of moisture from breathing, droppings and water spillage. If you see condensation on windows or uninsulated walls in the morning, increase ventilation.
Fast Facts
- Morning condensation on windows or walls is a sign to vent more.
- Moisture comes from breathing, droppings and spilled water.
- Combs, wattles and possibly toes are the frostbite danger zones.
- Vents belong high up and away from the roost.
Ammonia is the second risk. Excess ammonia can cause respiratory problems, even blindness, in chickens. Place vents high up and away from the roost. The goal is airflow without drafts on the birds.
- Don’t strip the coop mid-winter: Experts suggest postponing a full clean-out until spring, because the extra bedding helps insulate the building.
- Top-dress with fresh bedding as needed to keep it dry.
- Birds with large combs struggle to tuck them under a wing, so roosters are more prone to frostbite.
Leaving the old bedding in over winter is actually a recommended practice. One poultry expert warns that over-insulating is a major slip-up.
But that’s nothing compared to what’s waiting at #1, and it’s the most common kind gesture that backfires…

2 Pcs Halloween Pet Hat Bandana Set, Witch Pumpkin Costumes for Dogs
Check Price on AmazonAs an Amazon Associate, we earn from qualifying purchases.
10/9/2026 2:45 pm GMTi
Orthopedic Extra Large Dog Bed, Waterproof Washable XL Pet Bed 44"
Check Price on AmazonAs an Amazon Associate, we earn from qualifying purchases.
10/7/2026 1:32 pm GMTi

Hand Blown Glass Hummingbird Feeders for Outdoors Hanging, 24oz Wild Bird Nectar Feeder
Check Price on AmazonAs an Amazon Associate, we earn from qualifying purchases.
10/7/2026 1:23 pm GMTi
Earth Rated XL Dog & Puppy Pee Pads, Discreet Top, Max Absorbency
Check Price on AmazonAs an Amazon Associate, we earn from qualifying purchases.
10/7/2026 1:28 pm GMTi
#1 – Swap Blankets for Real Straw
🔥 Would you like to save this?
We'll email this post to you, so you can come back to it later!
The most caring thing people do for outdoor animals, tossing in a blanket, can leave them colder.
Straw resists moisture and insulates. Blankets and towels absorb moisture and become cold when wet. A damp layer doesn’t just fail to warm the animal. It draws heat out.
Blankets can actually steal heat from an animal’s body. That’s what Bideawee says about blankets and towels in cat shelters. Cats in Action adds that fleece and wool also hold moisture and freeze.
Pick the right product:
- Straw is bedding. Hay is feed. Hay absorbs moisture and can freeze, leaving a shelter damp and cold.
- Avoid bleached, processed straw that is soft and flat. Real straw is stiff and hollow.
- Look for “untacked” straw, because some straw is chemically treated.
Extras can help. Mylar blankets reflect radiant heat, with straw laid on top. Outdoor-rated heating pads can fit under straw. In rare cases, cats are allergic to straw and develop rashes or upper respiratory symptoms.
Every fix above comes back to the same principle, and it’s simpler than you’d expect.
Here’s our verdict: surviving a cold snap isn’t about fluff. It’s about dry, small, raised and wind-blocked. Blankets, oversized igloos, sealed-tight coops and spotless yards all feel kind, and each one can work against the animals.
The advice from animal-care groups and wildlife organizations points the same way. Use straw, keep spaces snug, lift shelters off the ground, block the wind and let moisture escape. We’d skip the decorative cat house and spend the money on foam and a bale of straw.
Which of these have you had backwards, and which will you fix before the next freeze?