
Worried about unexpected vet bills?
Pet insurance can cover thousands in unexpected vet costs. Get a free quote from Lemonade in under 2 minutes.
Get My Free Quote →Sponsored · Opens Lemonade.com
Every spring, the same quiet drama plays out in backyards and allotments across the country. Some gardeners seem to coax extraordinary results from ordinary soil, while others wrestle with patchy harvests and wilting transplants despite their best efforts. The gap between the two groups often isn’t about talent or expensive tools.
It’s about a handful of time-tested habits that seasoned growers tend not to broadcast. They’re not secret in a mysterious way. They’re just the kind of thing you learn after enough seasons of getting it wrong.
Start With Soil, Not Seeds

The real foundation of a great spring garden is built before a single seed is sown. As the frost retreats and the first signs of green emerge, the urge to get seeds into the ground is undeniable. However, any seasoned grower will tell you that a successful harvest isn’t won in the planting – it’s won in the soil preparation.
Late winter and early spring are the ideal times to assess, amend, and revitalize your garden soil to provide the perfect foundation for healthy plants. Proper soil preparation can improve plant health, increase yields, and reduce pest and disease problems throughout the growing season. Veteran gardeners treat their soil like a long-term investment, not a seasonal afterthought.
Test Your Soil Before You Amend It
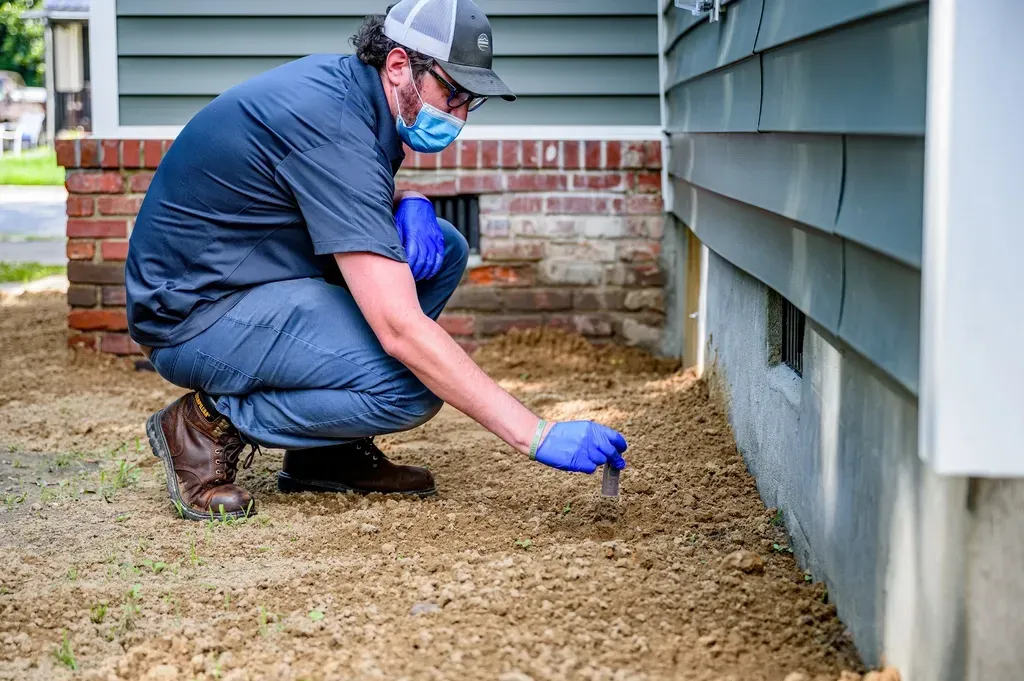
Experts recommend testing your garden soil every three to five years to see what nutrients or organic materials it needs and which it has too much of. Guessing leads to waste at best and damaged crops at worst. A soil test takes the guesswork out of spring amendments entirely.
Test your soil for existing and needed fertilizer. Getting test results from a professional lab helps you get the soil prepped for ideal growing conditions. Soil tests provide more helpful information on soils than any other resource. Testing is an inexpensive way to maintain good plant health in lawns and landscapes, and to maximize productivity of vegetable gardens and fruit crops.
Prepare Your Beds in the Fall, Not the Spring
The best time to prepare your spring soil is, of course, in the fall. Spring rains and mud are a major impediment when your psyche is screaming to get out there and get some seeds in the ground. Experienced gardeners understand this and do their heavy lifting months early.
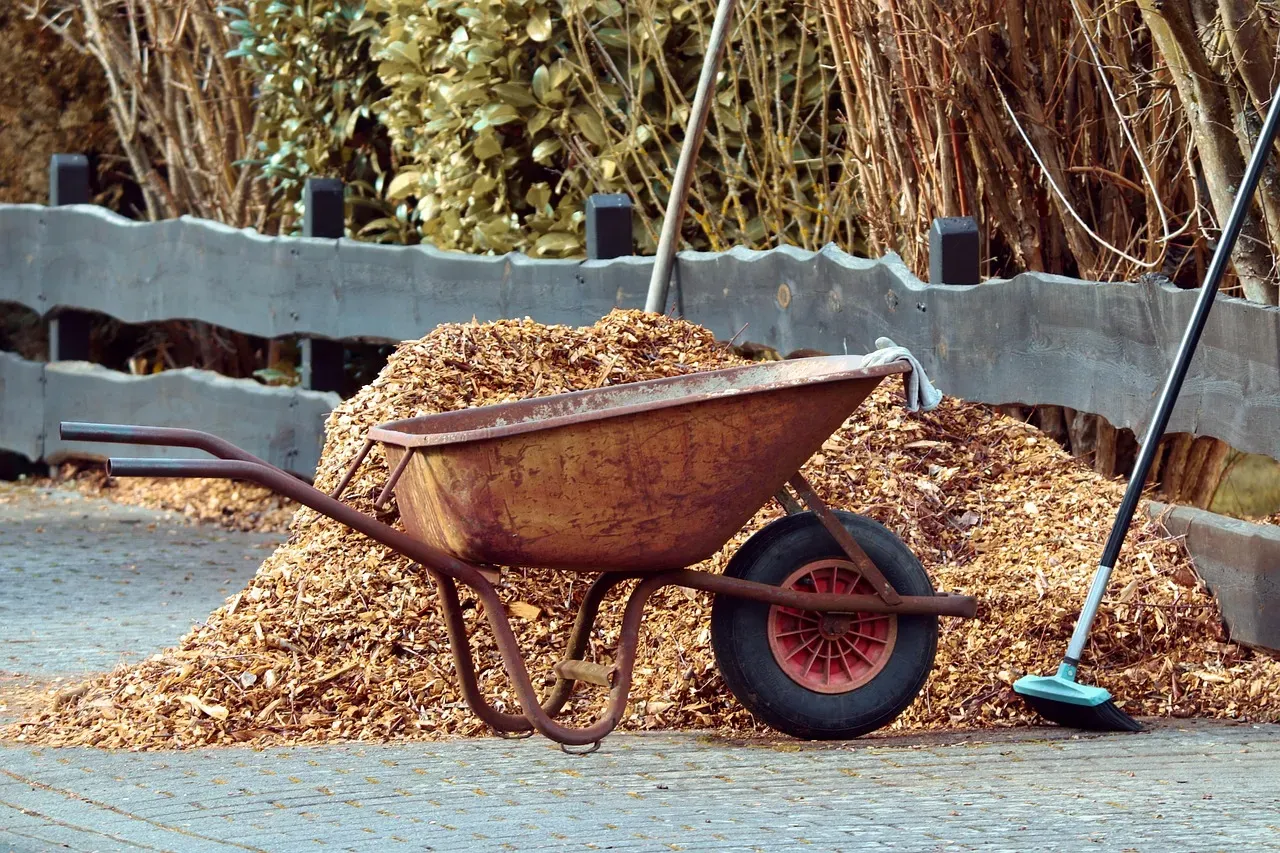
Once you have loosened up the soil, it’s time to cover the whole surface with compost, leaf mold, or plain shredded leaves. If you have a compost bin, you can clean that out and dump it onto the soil as well. Two to three inches is a good layer to aim for, because naked soil is a bad thing. Leaving soil uncovered exposes the ground to heavy winter rains that compact the surface, sunshine that causes new weeds to germinate, and drying winds that blow away fresh soil.
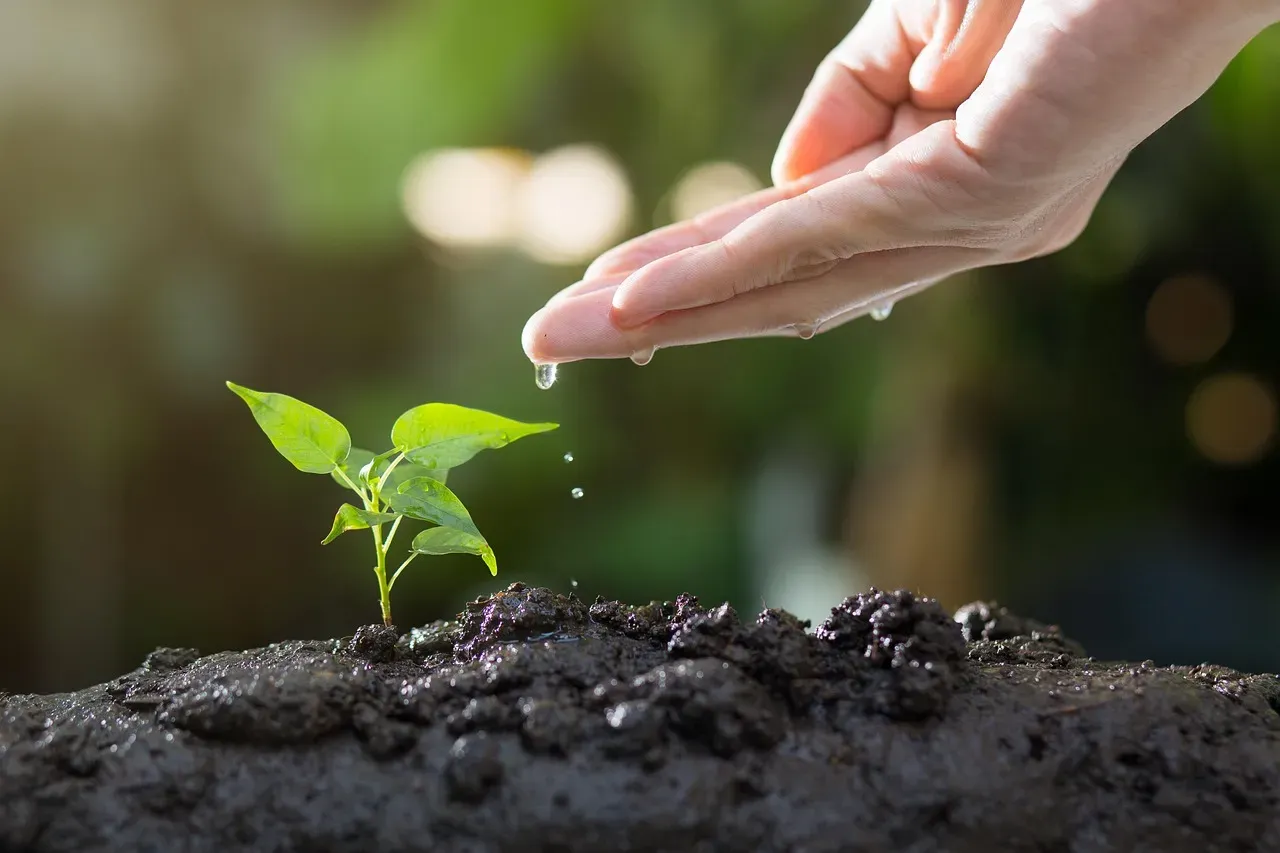
Read Soil Temperature, Not the Calendar

When it’s time to take your seeds and seedlings outside, plant according to soil temperature, not air temperature – because the soil surrounding the seeds directly impacts germination and plant growth rate. This is one of those distinctions that new gardeners rarely hear about, and it’s responsible for a lot of failed early plantings.
Seeds have minimum germination temperatures, and planting below those thresholds results in slow germination at best and seed rot at worst. Check the soil temperature with a probe thermometer to know exactly when to plant. Peas germinate in soil as cool as 40°F, but tomatoes need at least 60°F to thrive after transplanting. A cheap thermometer at the garden center will save you weeks of frustration.
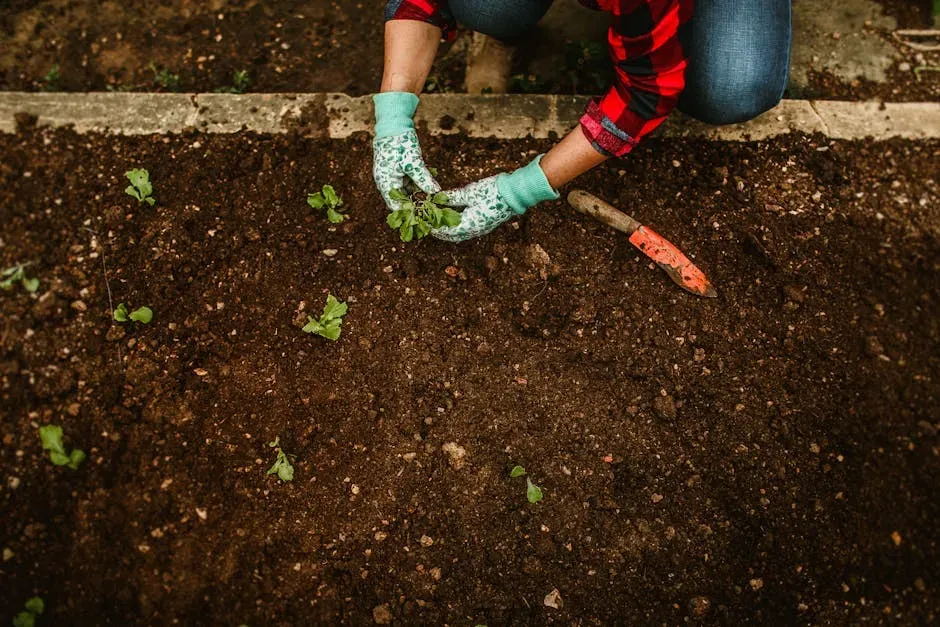
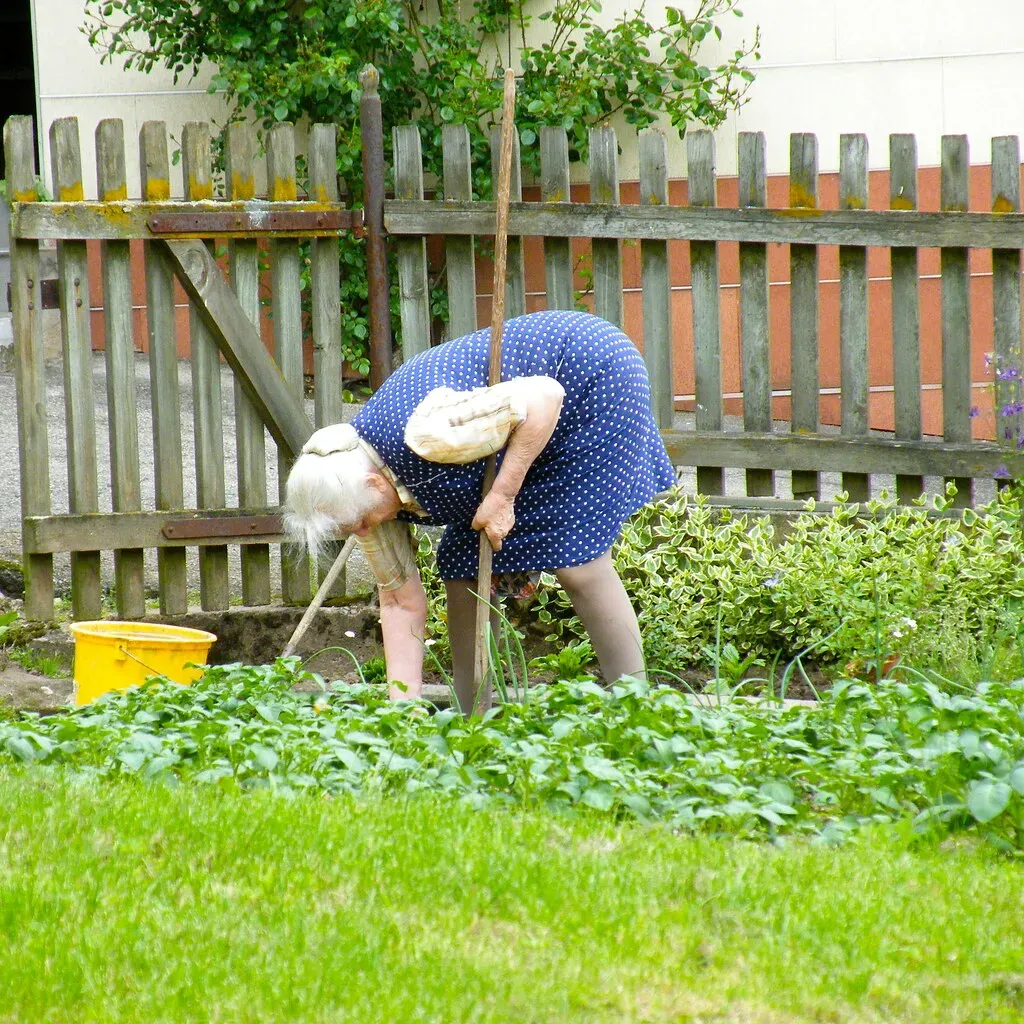
Don’t Work Wet Soil

Working wet soil destroys its structure, leading to compaction, poor drainage, and limited air circulation – all detrimental to root health. You’ll hear experienced gardeners say, “Don’t work the soil when it’s muddy!” It’s a rule that sounds simple until spring impatience kicks in.
You are much heavier than a robin, and the soil will sink and bruise beneath your footsteps. Working wet soil will damage its structure and decrease its resiliency in both wet and dry times. Seedlings will likewise suffer if transplanted into waterlogged soil; roots need oxygen, and the air flow in saturated soil is limited at best. The right time is when a squeezed handful of soil crumbles gently rather than forming a solid clump.
Add Compost Generously and Often
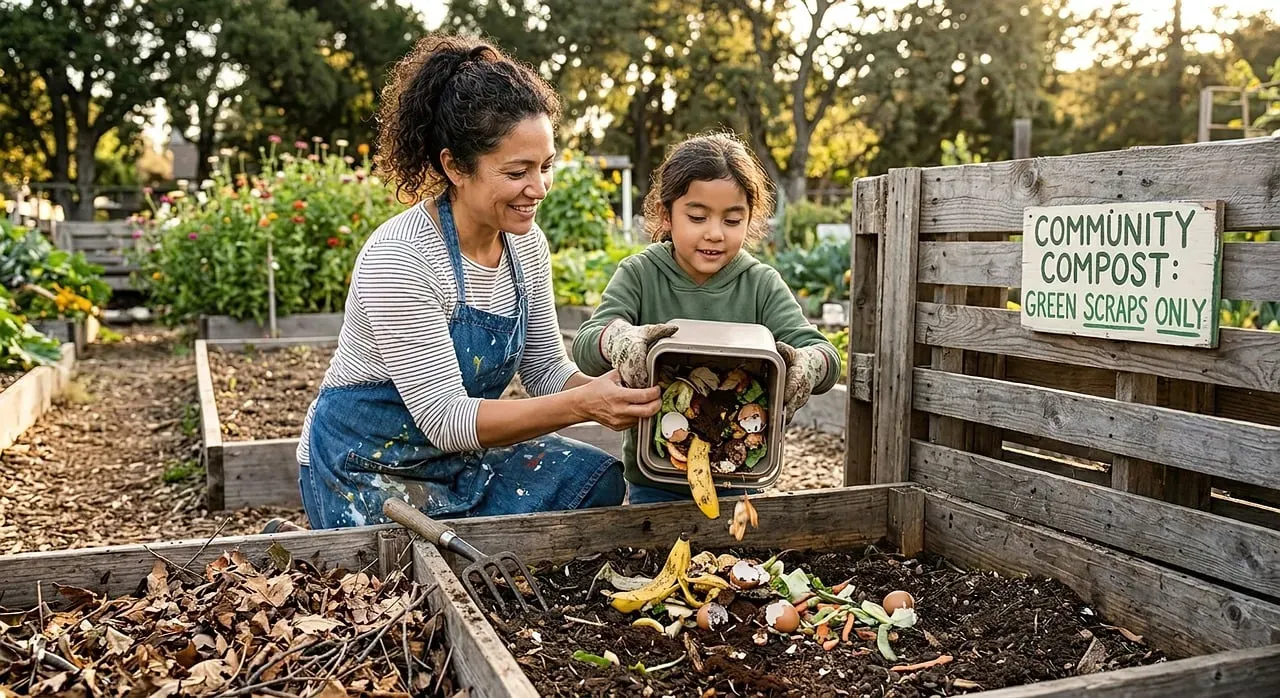
Compost is one of the best amendments for improving garden soil, and the great thing about it is you can make it for free while recycling valuable organic materials rather than sending them to a landfill. Veteran gardeners typically add it not once but twice a year, and they rarely skip a season.
Twice a year, amending soil with compost – once after clearing out and cleaning up in early spring, and again in fall when cleaning out summer crops – keeps beds consistently productive. To allow time for the soil microbes and other beneficial organisms in compost to improve the garden, add the compost a few weeks before planting. That lead time matters more than most people realize.
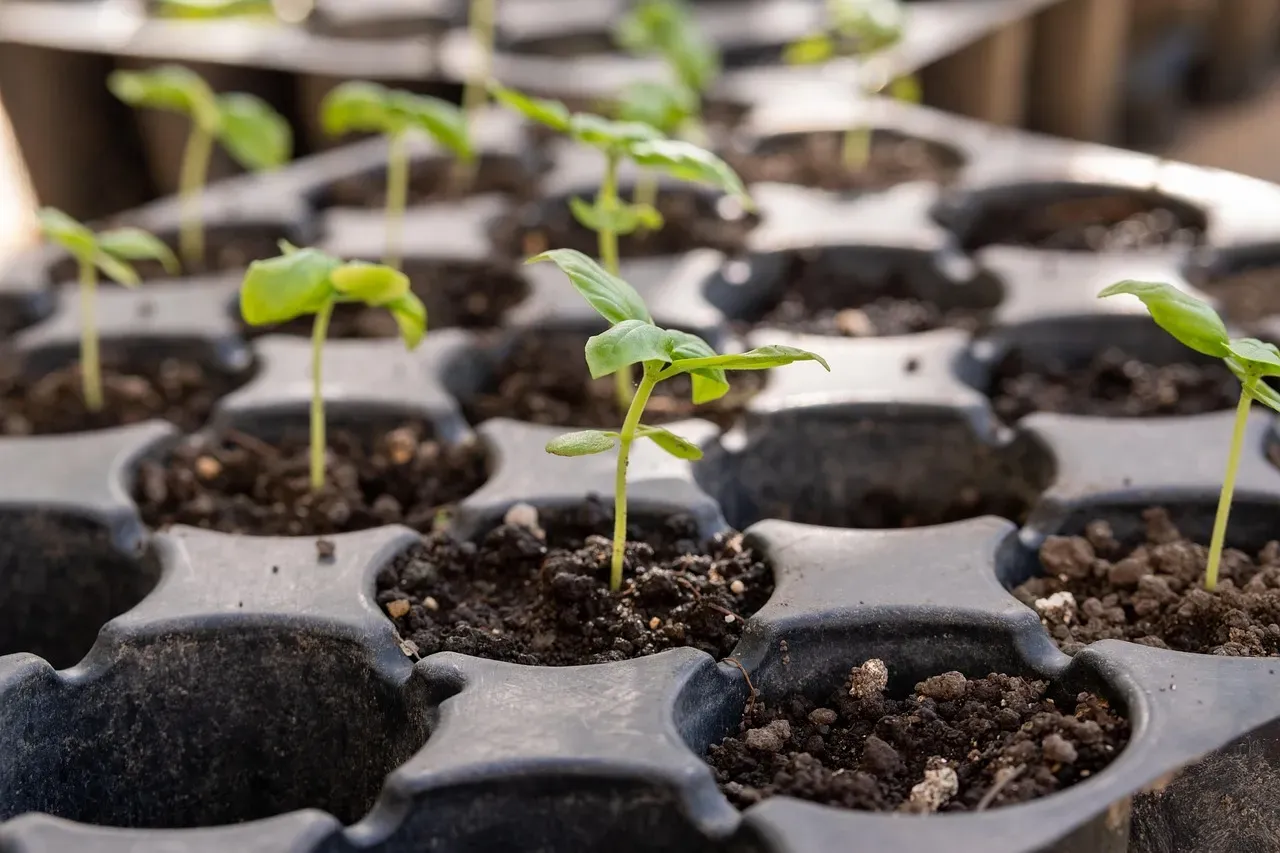
Start Seeds Indoors at the Right Moment

Warm-season crops can be started indoors, typically six to ten weeks before they are ready to be planted outside. Starting too early is actually a common mistake, resulting in leggy seedlings that struggle at transplant. Timing is everything here.
Cool-season crops like peas and lettuce can go in weeks before your last frost, while warm-season crops like tomatoes need to start six to eight weeks indoors before transplanting outside. Starting too early often leads to leggy, stressed plants – a lesson most gardeners learn the hard way at least once before adjusting their calendar.
Harden Off Seedlings Patiently
The single biggest cause of transplant failure on a working garden isn’t late frost, cutworms, or bad soil – it’s skipping acclimation. Indoor-grown seedlings have spent their entire short lives under LED or fluorescent light at steady 68°F with no wind. Move them straight outside on a sunny April day and you’ll see bleach, wilt, or snapped stems within 48 hours.
Begin hardening transplants one to two weeks prior to setting them out in your garden. The easiest way to harden transplants is to place them outside in a shaded, protected spot on warm days, bringing them in at night. Each day, increase the amount of sunlight the transplants receive. Don’t put tender seedlings outdoors on windy days or when temperatures are below 45°F. Patience here is paid back in strong, resilient transplants.
Apply Mulch Early in the Season
Spreading mulch early is much easier than later in the season once plants have grown in and become difficult to get under. Don’t apply mulch along the trunk of a tree or shrub as it can create an easier path for pests and disease. Applying two inches of organic mulch now will prevent many weed seeds from germinating later as the temperature warms.
Applying a fresh layer before warm weather sets in gives your garden a major head start. It locks in moisture, suppresses weeds, and keeps soil temperatures stable as the season shifts. Aim for a layer about two to three inches deep around the base of trees, shrubs, and perennial beds. Keep mulch a few inches away from plant stems and tree trunks to avoid trapping moisture against the bark, which can lead to rot and pest problems.
Practice Crop Rotation Every Year
One of the biggest mistakes newer gardeners make is growing the same crop year after year in the same piece of soil. The soil becomes depleted of nutrients essential to that crop’s well-being. All crops have their vulnerable side and are prone to specific insect pests and diseases. Growing them in the same spot increases their vulnerability as insects and diseases overwinter in the soil.
There are three main benefits for rotating your crops: replace soil nutrients, interrupt disease cycles, and interfere with pest cycles. Certain crops require different nutrients from your soil. Rotating crops by family every three to four years is a rhythm that veteran gardeners follow almost instinctively, and it pays off in noticeably healthier beds season after season.
Use Companion Planting as a Natural Defense

Companion planting pairs plants that help each other. Basil protects tomatoes, marigolds repel pests, and the “Three Sisters” method of corn, beans, and squash boosts growth naturally. It’s an approach that has been used in some form for thousands of years, and research increasingly backs it up.
By planting plants with different root structures together, you can aerate the soil and allow plants to pull nutrients from different parts of the soil profile. Plants with taproots or tubers like carrots or potatoes can help to break up compaction in the soil. Even a small amount of companion planting reduces the need for intervention later in the season.
Clear Out Winter Debris Before It Causes Problems
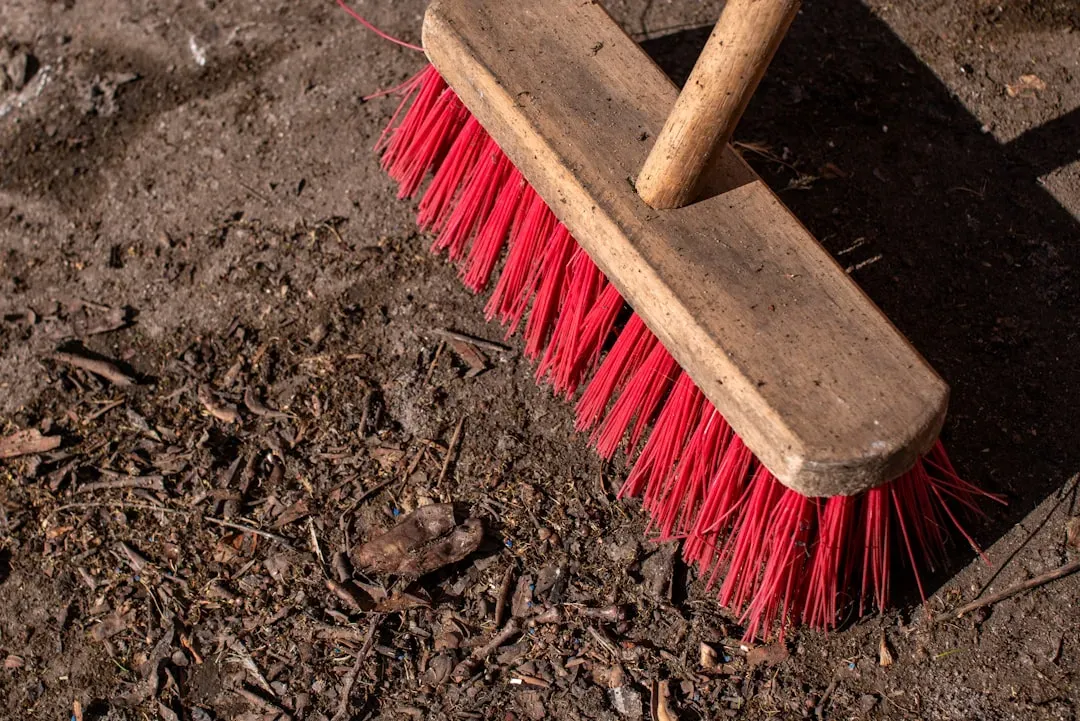
Clearing out winter debris before planting is necessary because leftover plant matter can harbor fungal diseases and overwintering pests that will attack your new crops. This is a step that’s easy to skip when you’re eager to plant, and one that reliably causes trouble down the line.
Cleaning garden beds clears the way for new growth. Removing dead material and weeds reduces pest and disease habitats and improves airflow and light – both essential for healthy plants. Experienced growers treat bed cleanup as a non-negotiable first act of spring, not an optional tidying-up exercise.
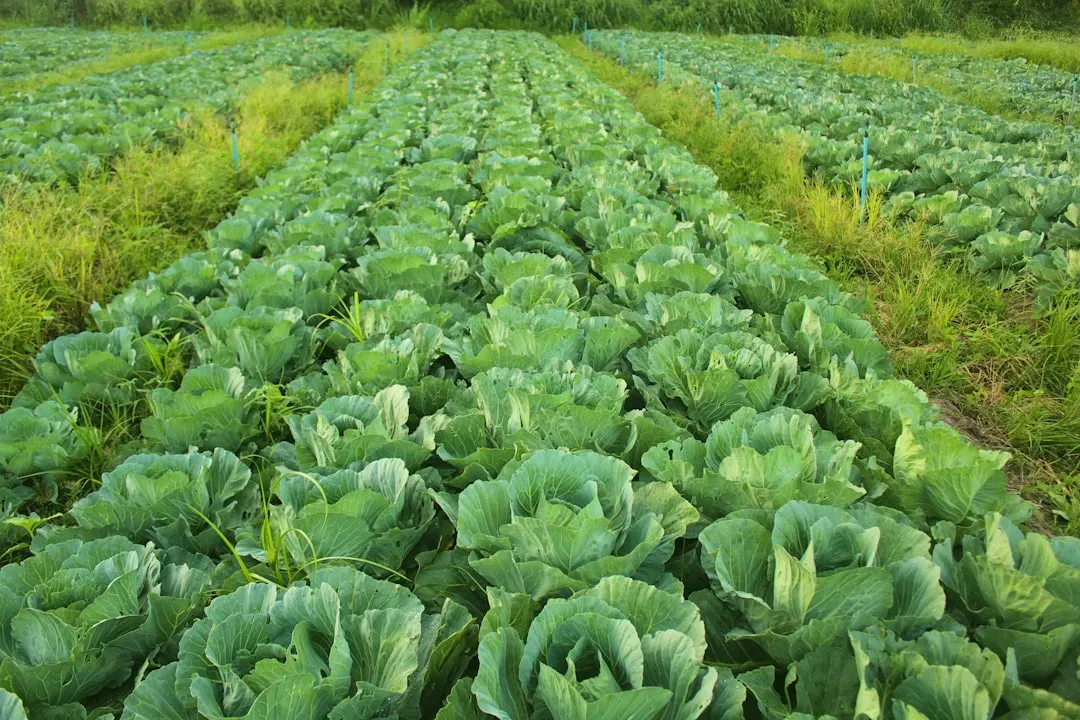
Plant Cool-Season Crops Early and Boldly
Some plants, like peas and lettuce, can be planted as soon as the soil can be worked in the spring. Other plants, like tomatoes and peppers, need to be planted later when conditions are genuinely warm. Understanding which crops belong in which category prevents both wasted seed and wasted time.
April is the time to plant cool-season vegetable crops. Cool-season crops can tolerate light to moderate frosts but are often intolerant of high summer temperatures. Veteran gardeners actually lean into this window eagerly, filling space early with greens and legumes while warming-season beds finish their preparation.
Inspect Your Garden Infrastructure Before You Plant
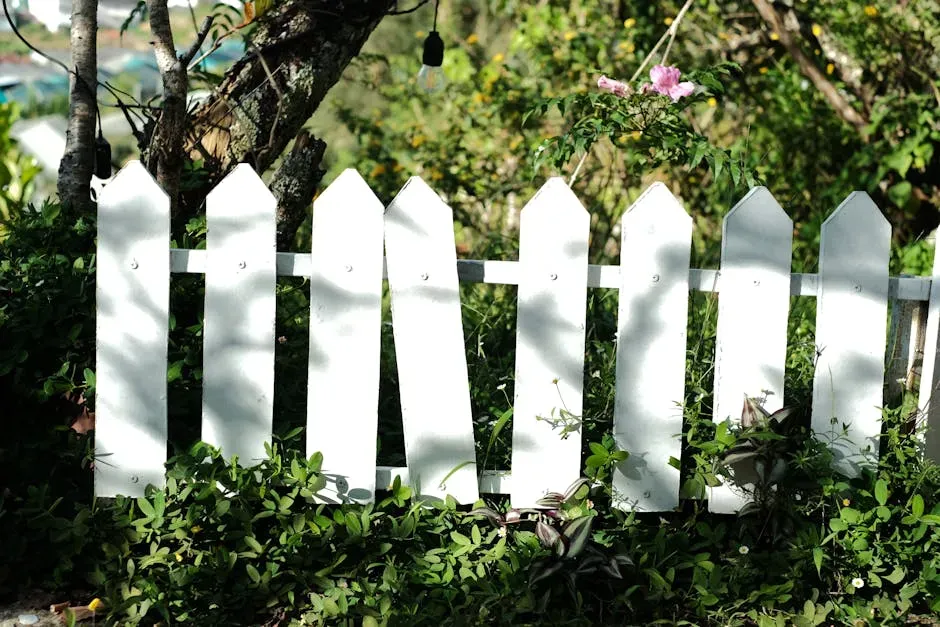
Over the winter months, rain, snow, and fluctuating temperatures can wreak havoc on fences and other garden structures. Check your trellises, fences, raised bed walls, and any other supports or structures for signs of damage. It’s much easier to repair infrastructure before plants are growing in, on, or in front of them.
In early spring before the ground is ready to be worked, focus your energy on hardscaping. This is the time to repair damaged retaining walls, level out your stepping stones, clean out your gutters, and fix fences, benches, decks, sheds, trellises, window boxes, and raised beds. These spring gardening tasks are easier to accomplish while your plants are still resting safely dormant. It’s unglamorous work, but addressing it early means fewer mid-season interruptions when the garden needs daily attention.
A Final Thought
What these fourteen habits share is a kind of disciplined patience. Each one asks you to do something now for a benefit you won’t fully see until weeks or months later. That’s the quiet logic that veteran gardeners have internalized over many seasons of observation and adjustment.
None of these secrets require specialized knowledge or expensive equipment. They require attention, timing, and a willingness to let the process unfold at its own pace. The gardeners who reliably get the best results out of spring planting aren’t doing something magical. They’re just doing the right things in the right order.
Worried about unexpected vet bills?
Pet insurance can cover thousands in unexpected vet costs. Get a free quote from Lemonade in under 2 minutes.
Get My Free Quote →Sponsored · Opens Lemonade.com